I have always loved a bit of weaving and since my college days when I studied printed and woven textiles, I’ve been threatening to have another go.
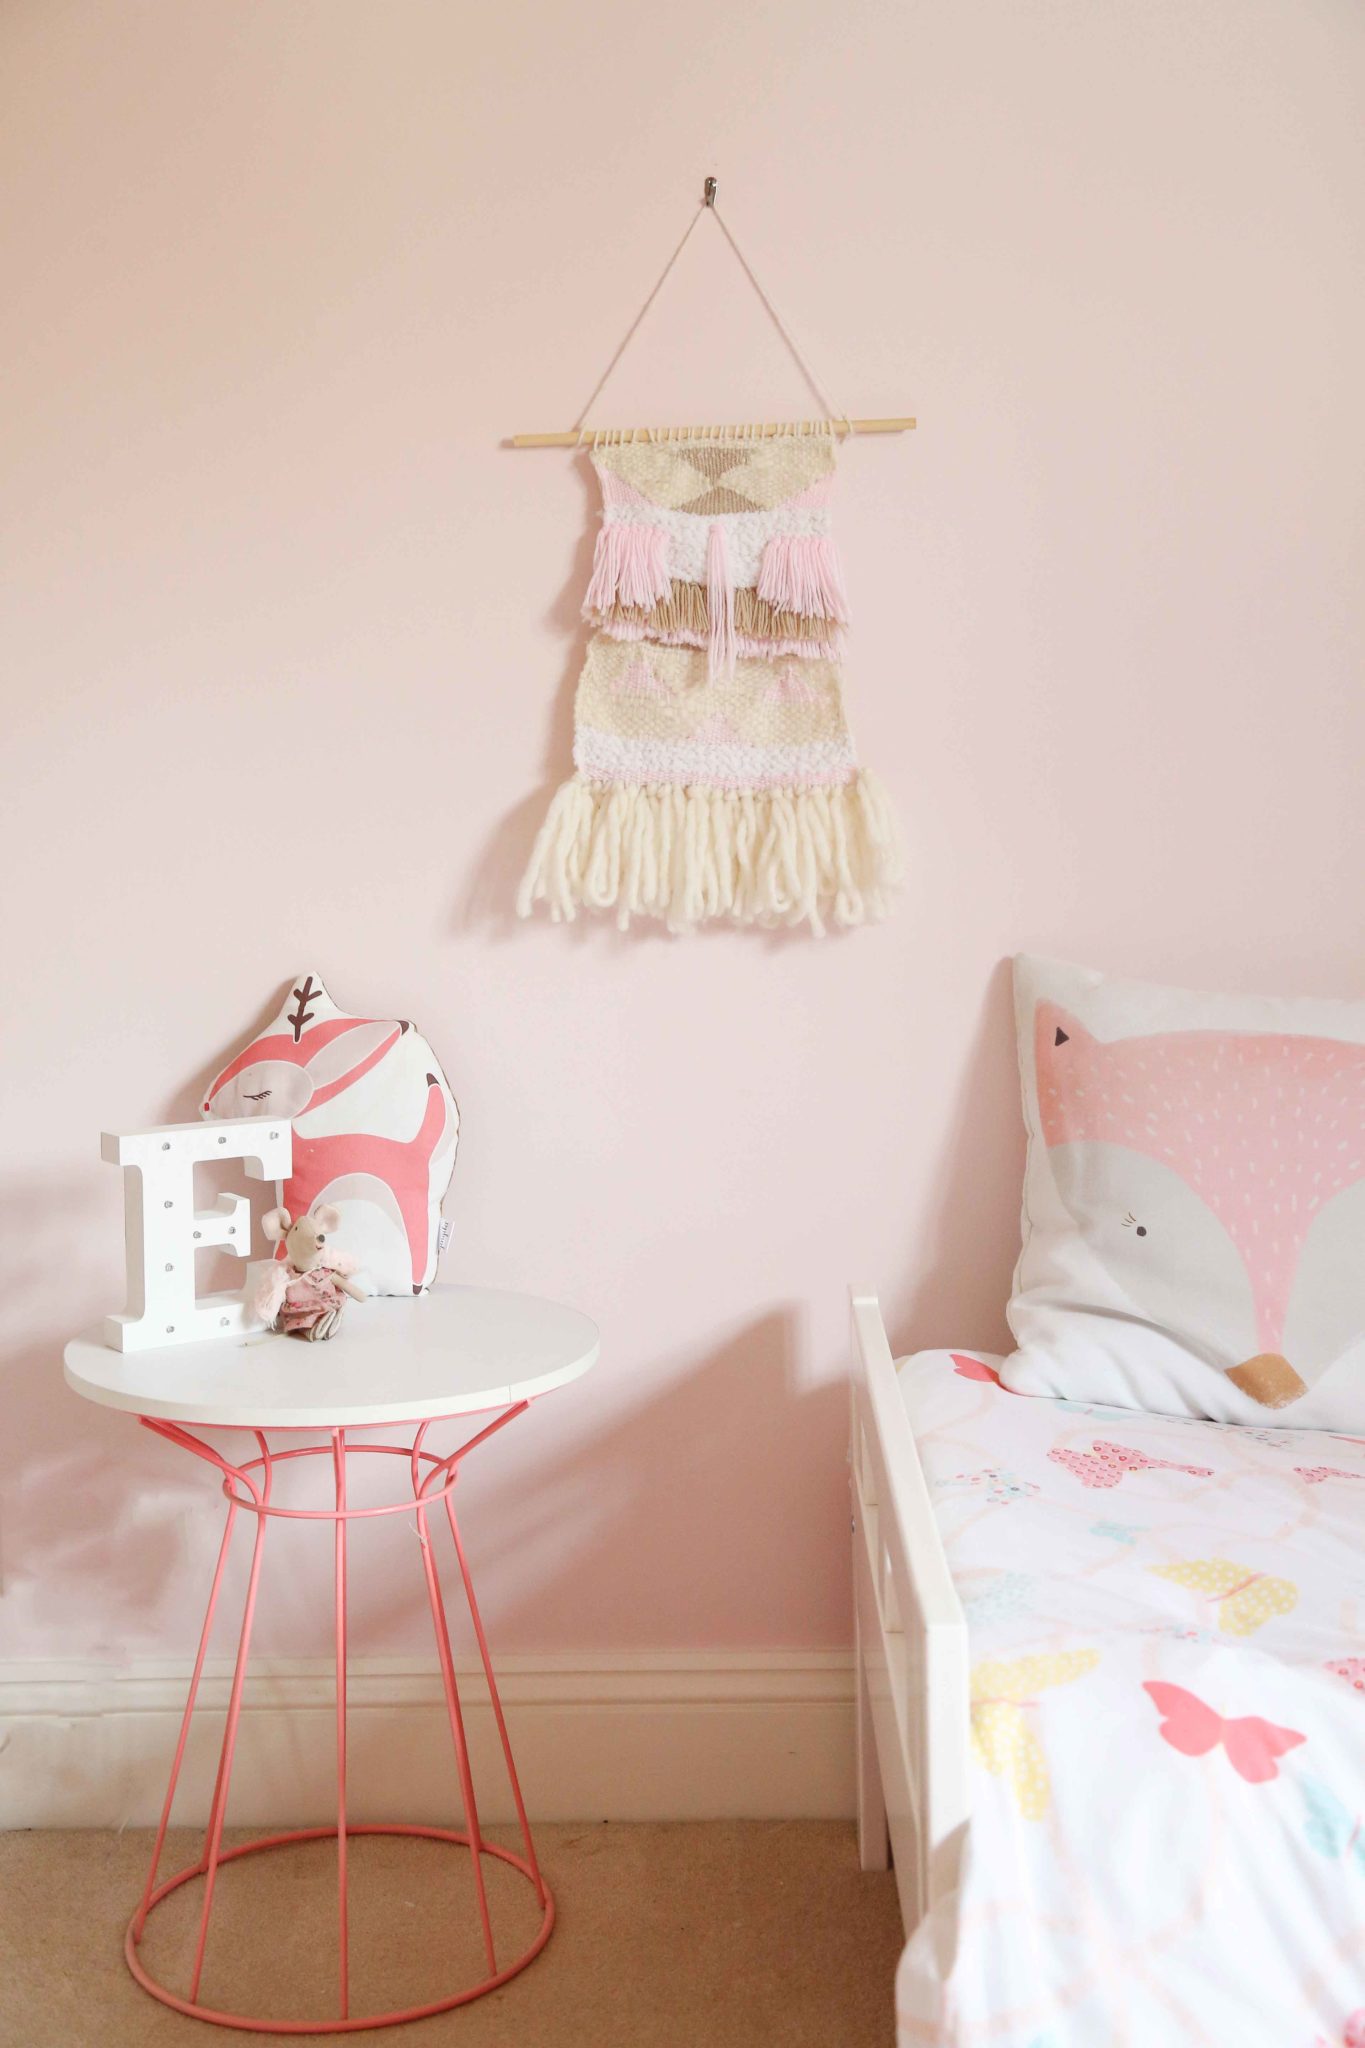
The gorgeous woven wall hangings that have been popping up on my Instagram feed and in Interior magazines have whet my appetite and tempted me into trying it again.
I thought it would be fun for the children to join in and for us to do an activity all together. So I embarked on making us each a loom. Sounds a bit of an ordeal but honestly it was really easy!
First I made the children’s out of cardboard and mine I made out of wood and nails. Both were very easy to make.
For the wooden loom you will need:
- Pine wood from local hardware store, cut in half to 42cm x 40cm
- Nails
- Hammer
- Pencil
Before I get into the weaving section, it is worth explaining a couple of important terms.
First, there is warp: this is the set of lengthwise yarns that are held in tension on the loom. For the warp I used plain yarn.
There is also the weft: the yarn that is inserted over and under the warp threads.
For the weft I needed:
- Different textures of yarn
- Scissors
- Tapestry needle
- Fork (this is great for pushing the yarn snugly into place)
- First mark the dimensions out on your wood. I measured out a rectangle 28cm wide by 42cm in length (the length of the wood).
- I then drew a line across this rectangle an inch down from the top and another an inch up from the bottom to indicate where the nails need to go.
- Along these two lines I put a small cross every centimeter interval, so I had 28 marks across the top and the bottom of the loom.
- Take a hammer and tap in a nail on each of the penciled marks.
- You should now have 28 nails along the top and the bottom at consistent spacing.
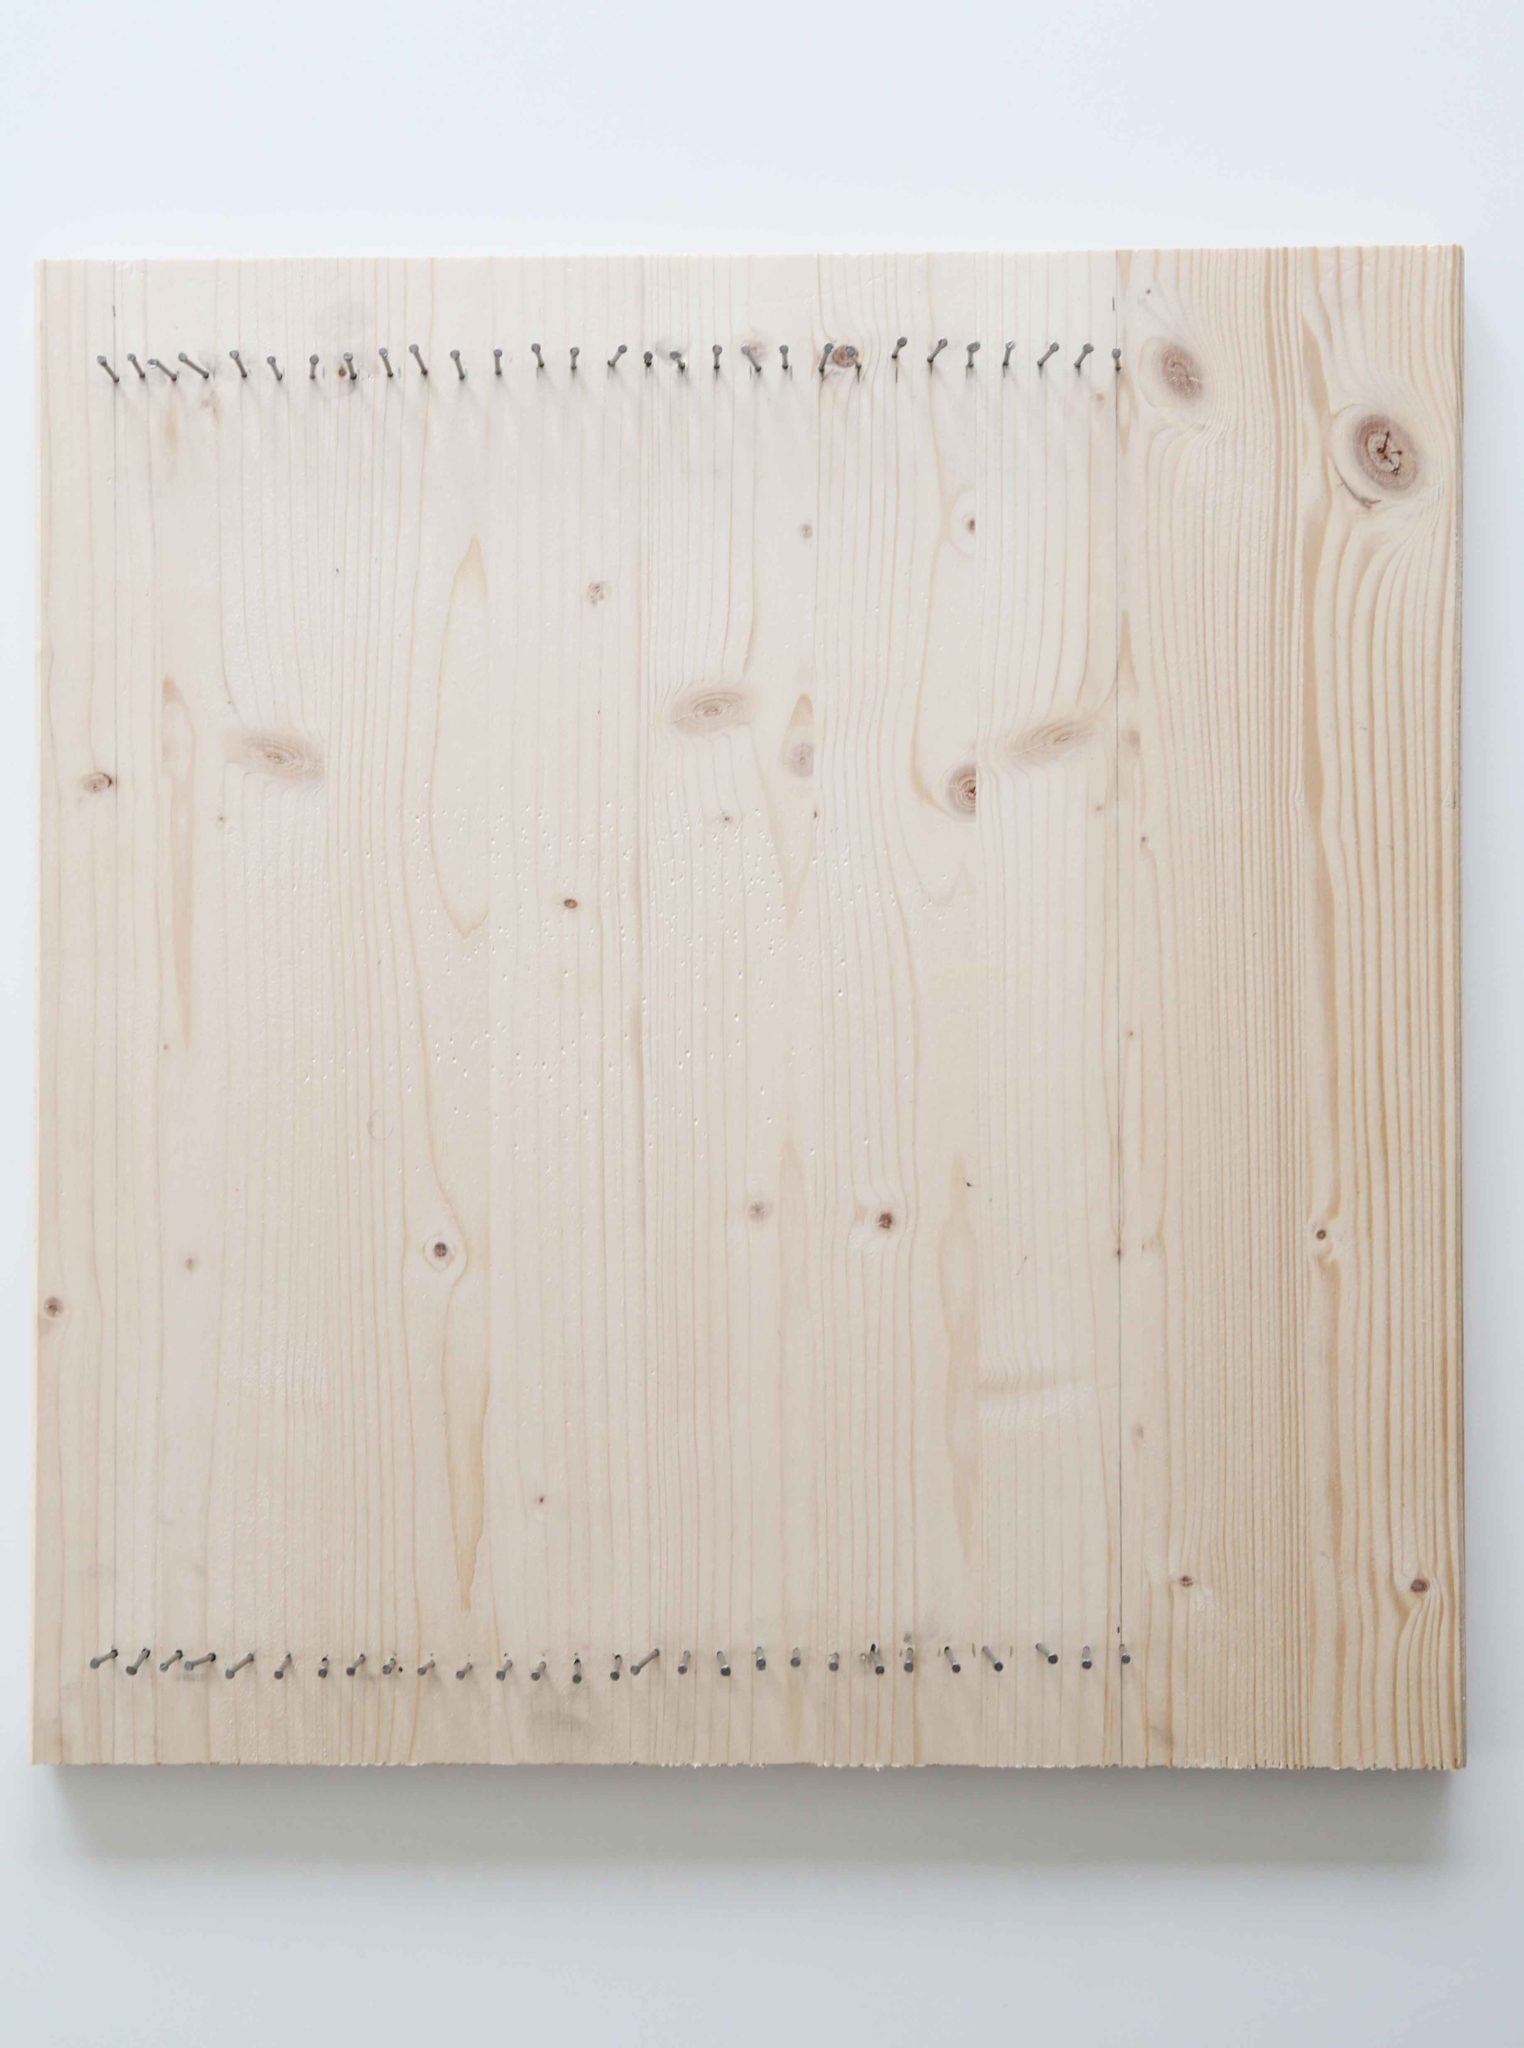
The loom
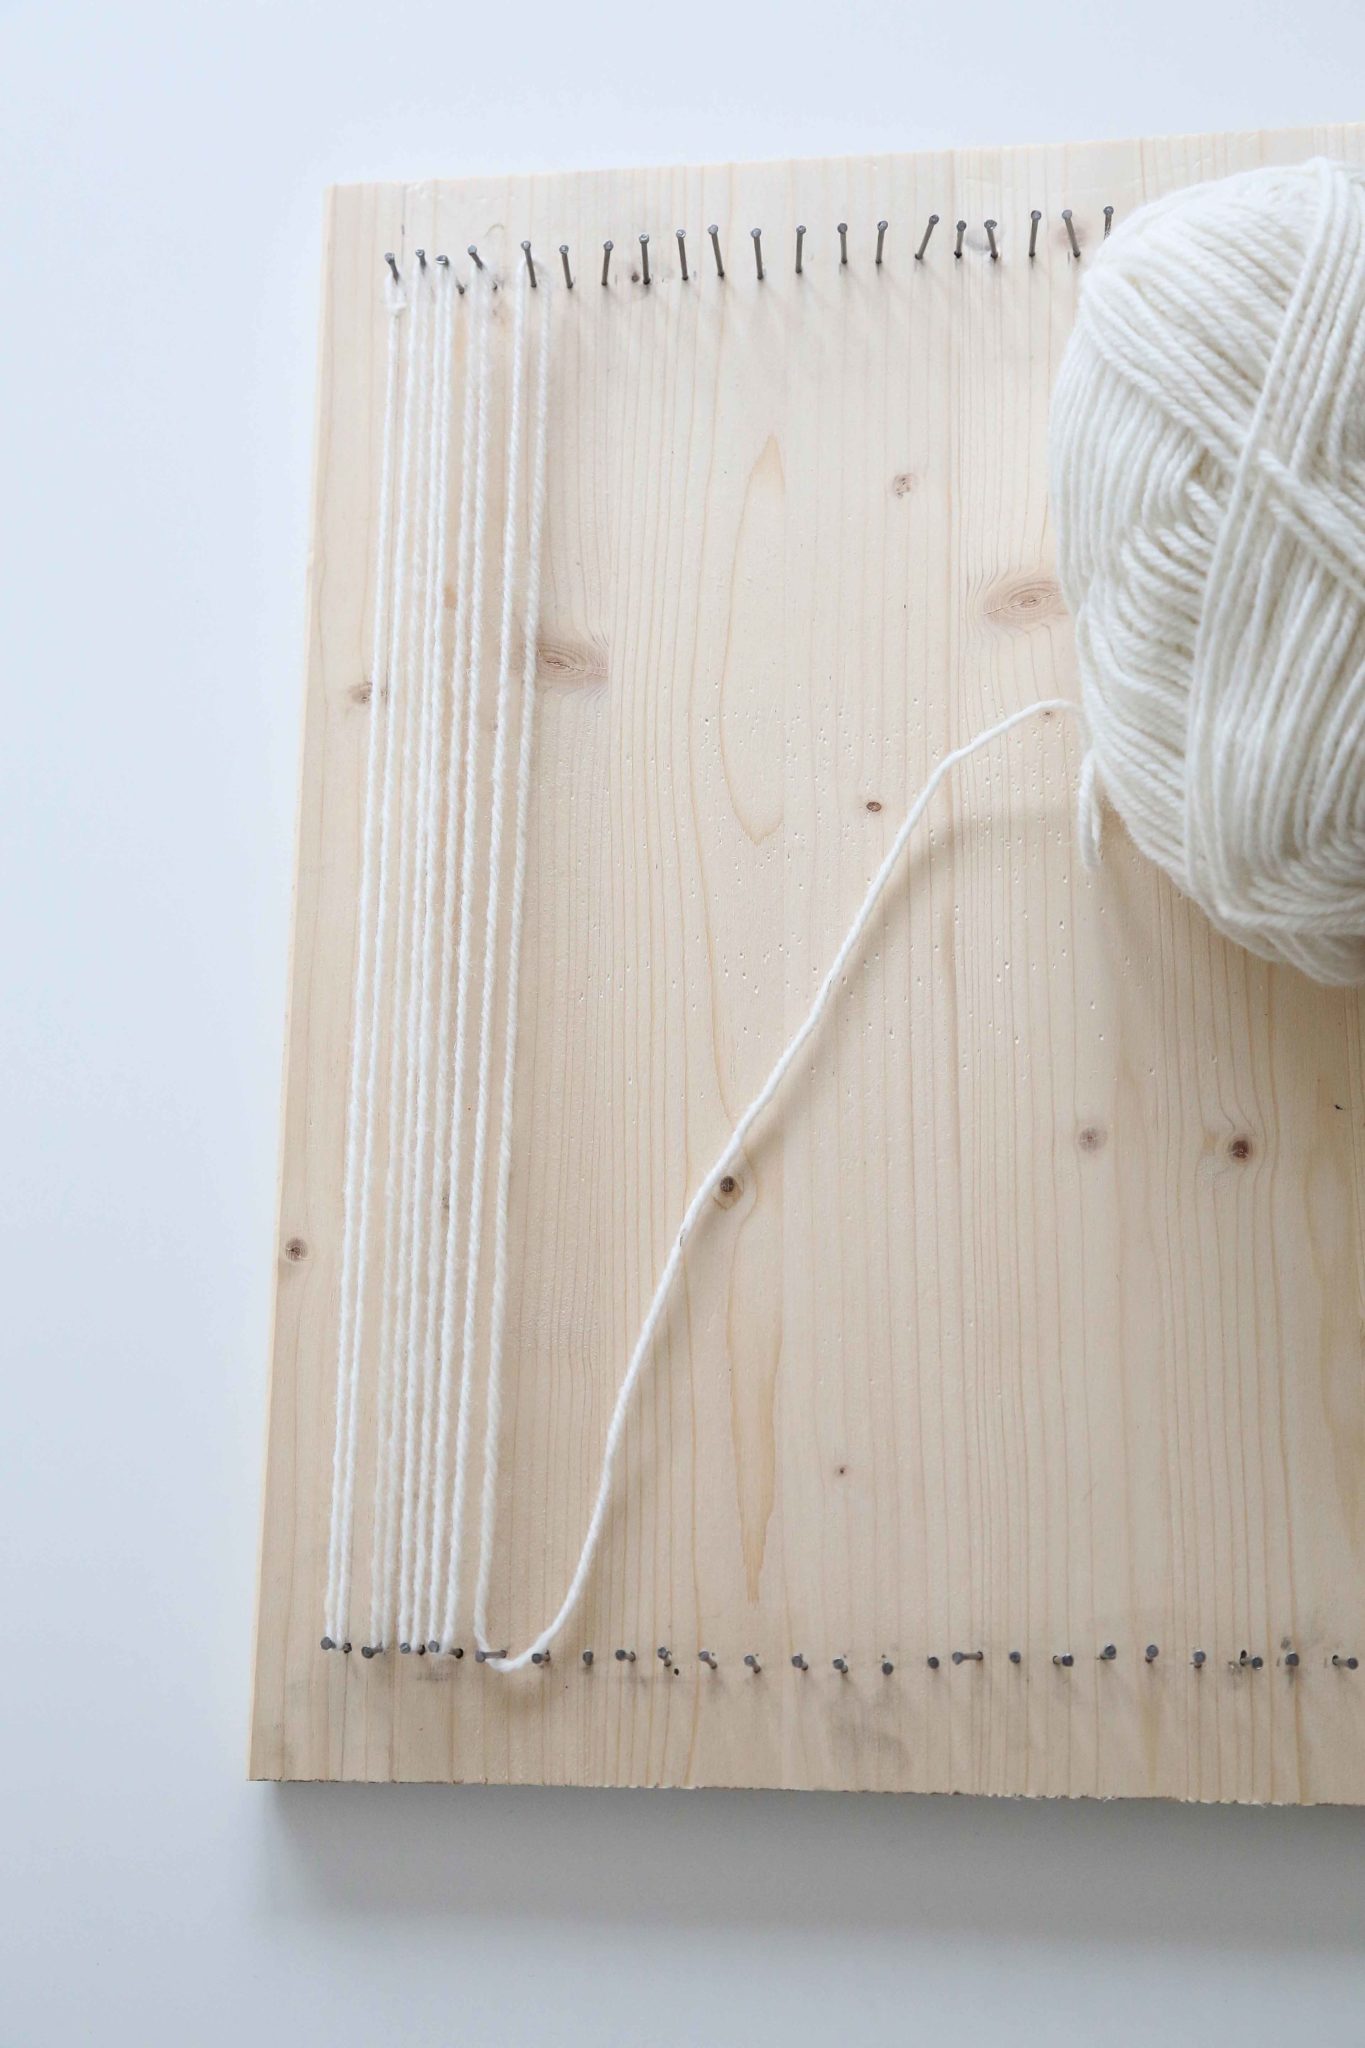
Creating the warp
6. Make a loom knot at the end of your warp yarn and tie to the top left nail.
7. Then wrap it down to the bottom left peg and back up again.
8. Continue until you come to the last nail and finish with another loop knot. This will be at the bottom right of your loom.
Bear in mind that you don’t want your warp too tight because as it fills with the weaving it will become more taut anyway.
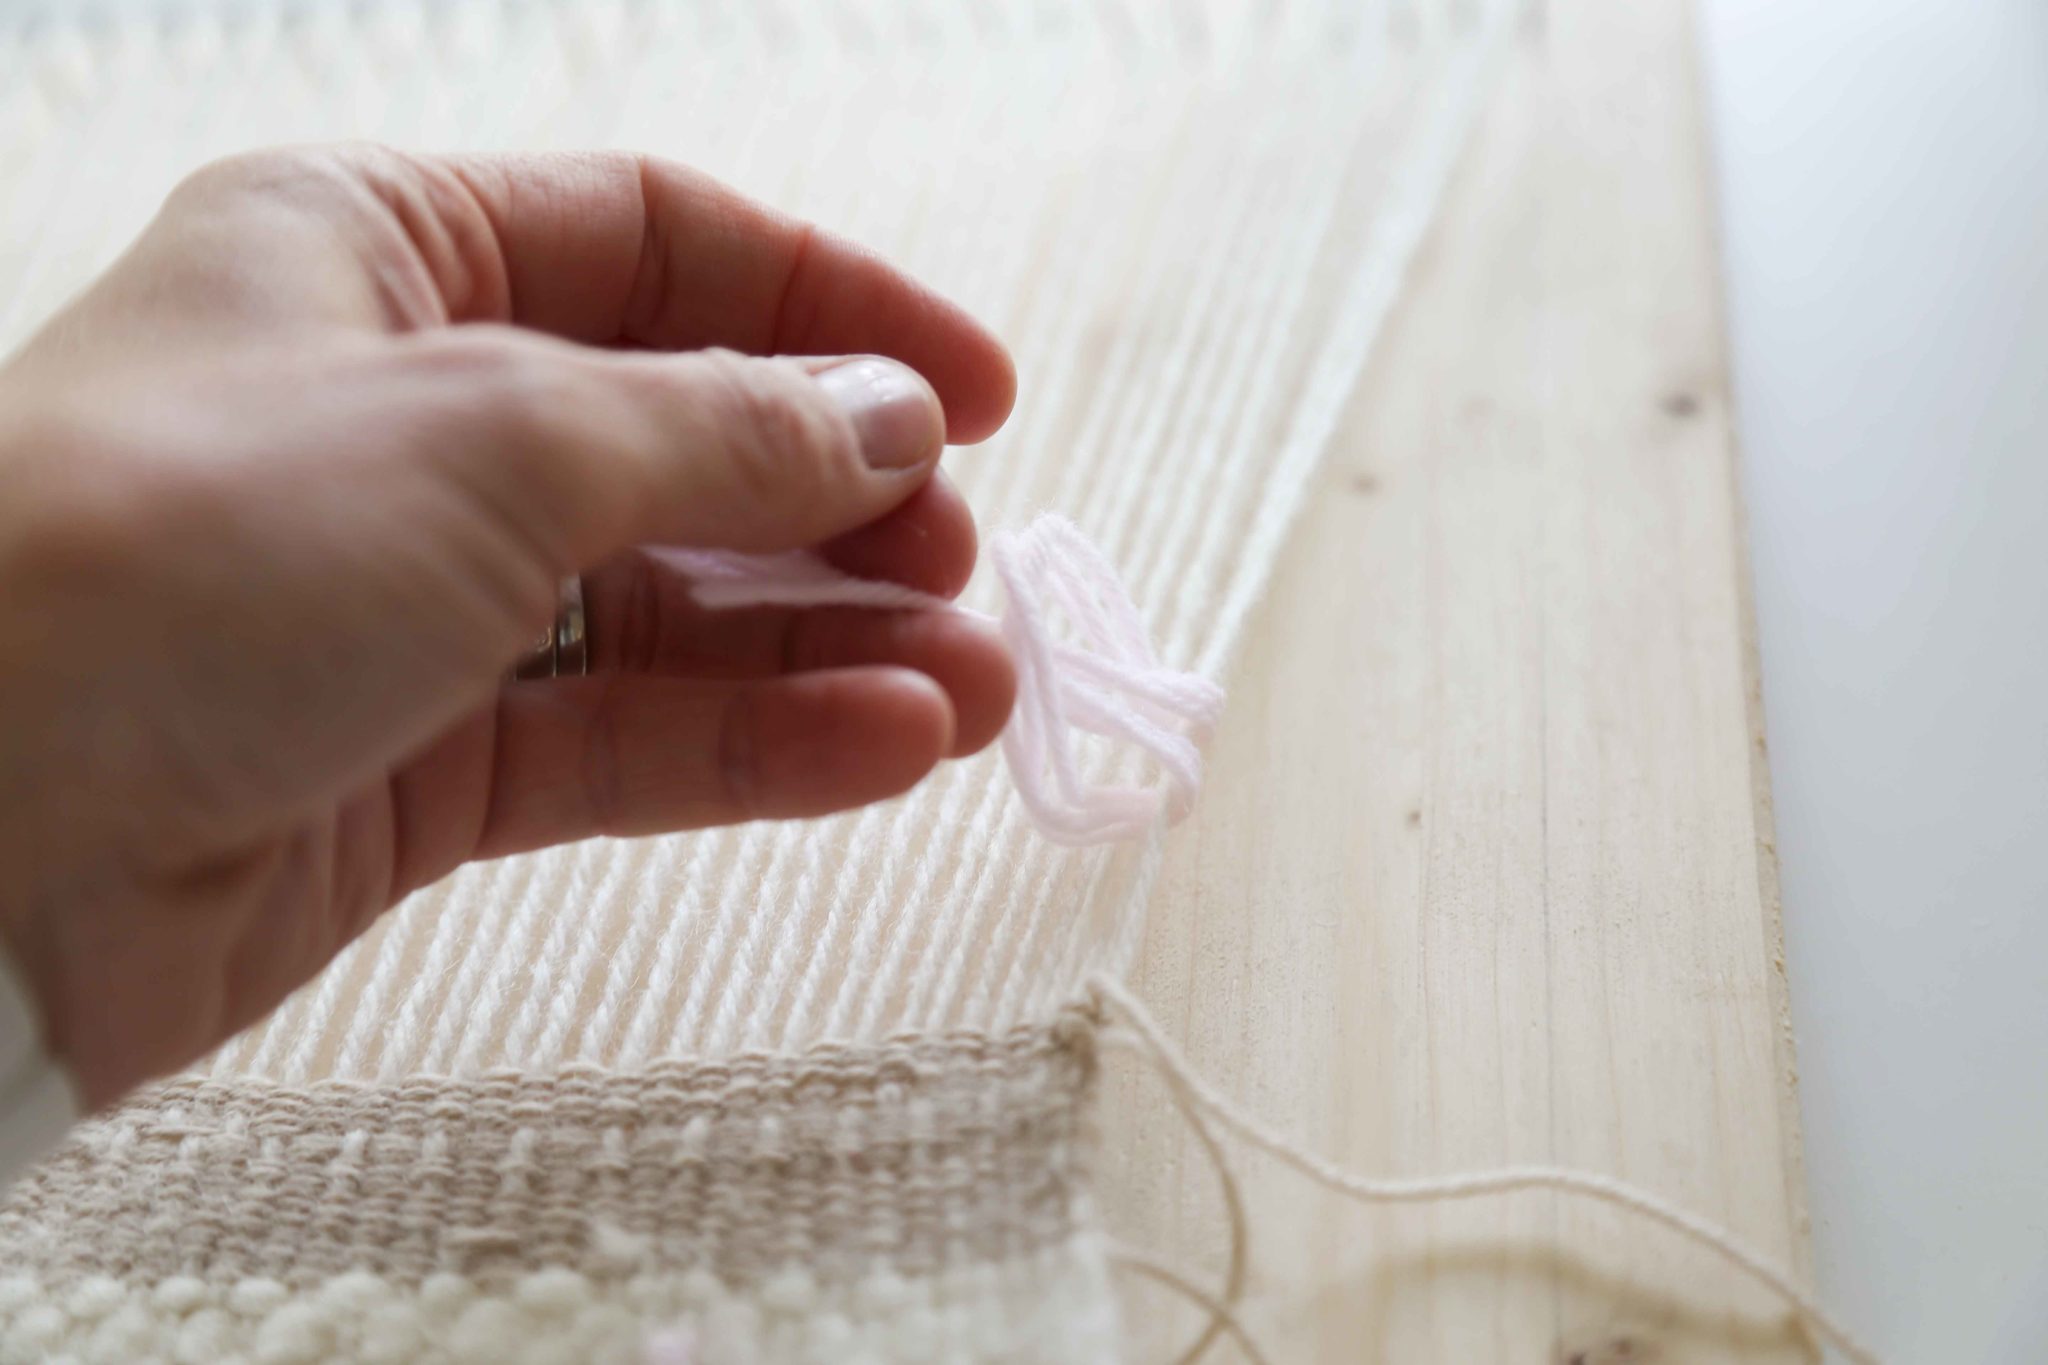
I really loved the idea of having a fringe on the bottom of my weave so I started off with making tassels. I wanted a really textured look so I used the fluffy thick wool.
To make a tassel…
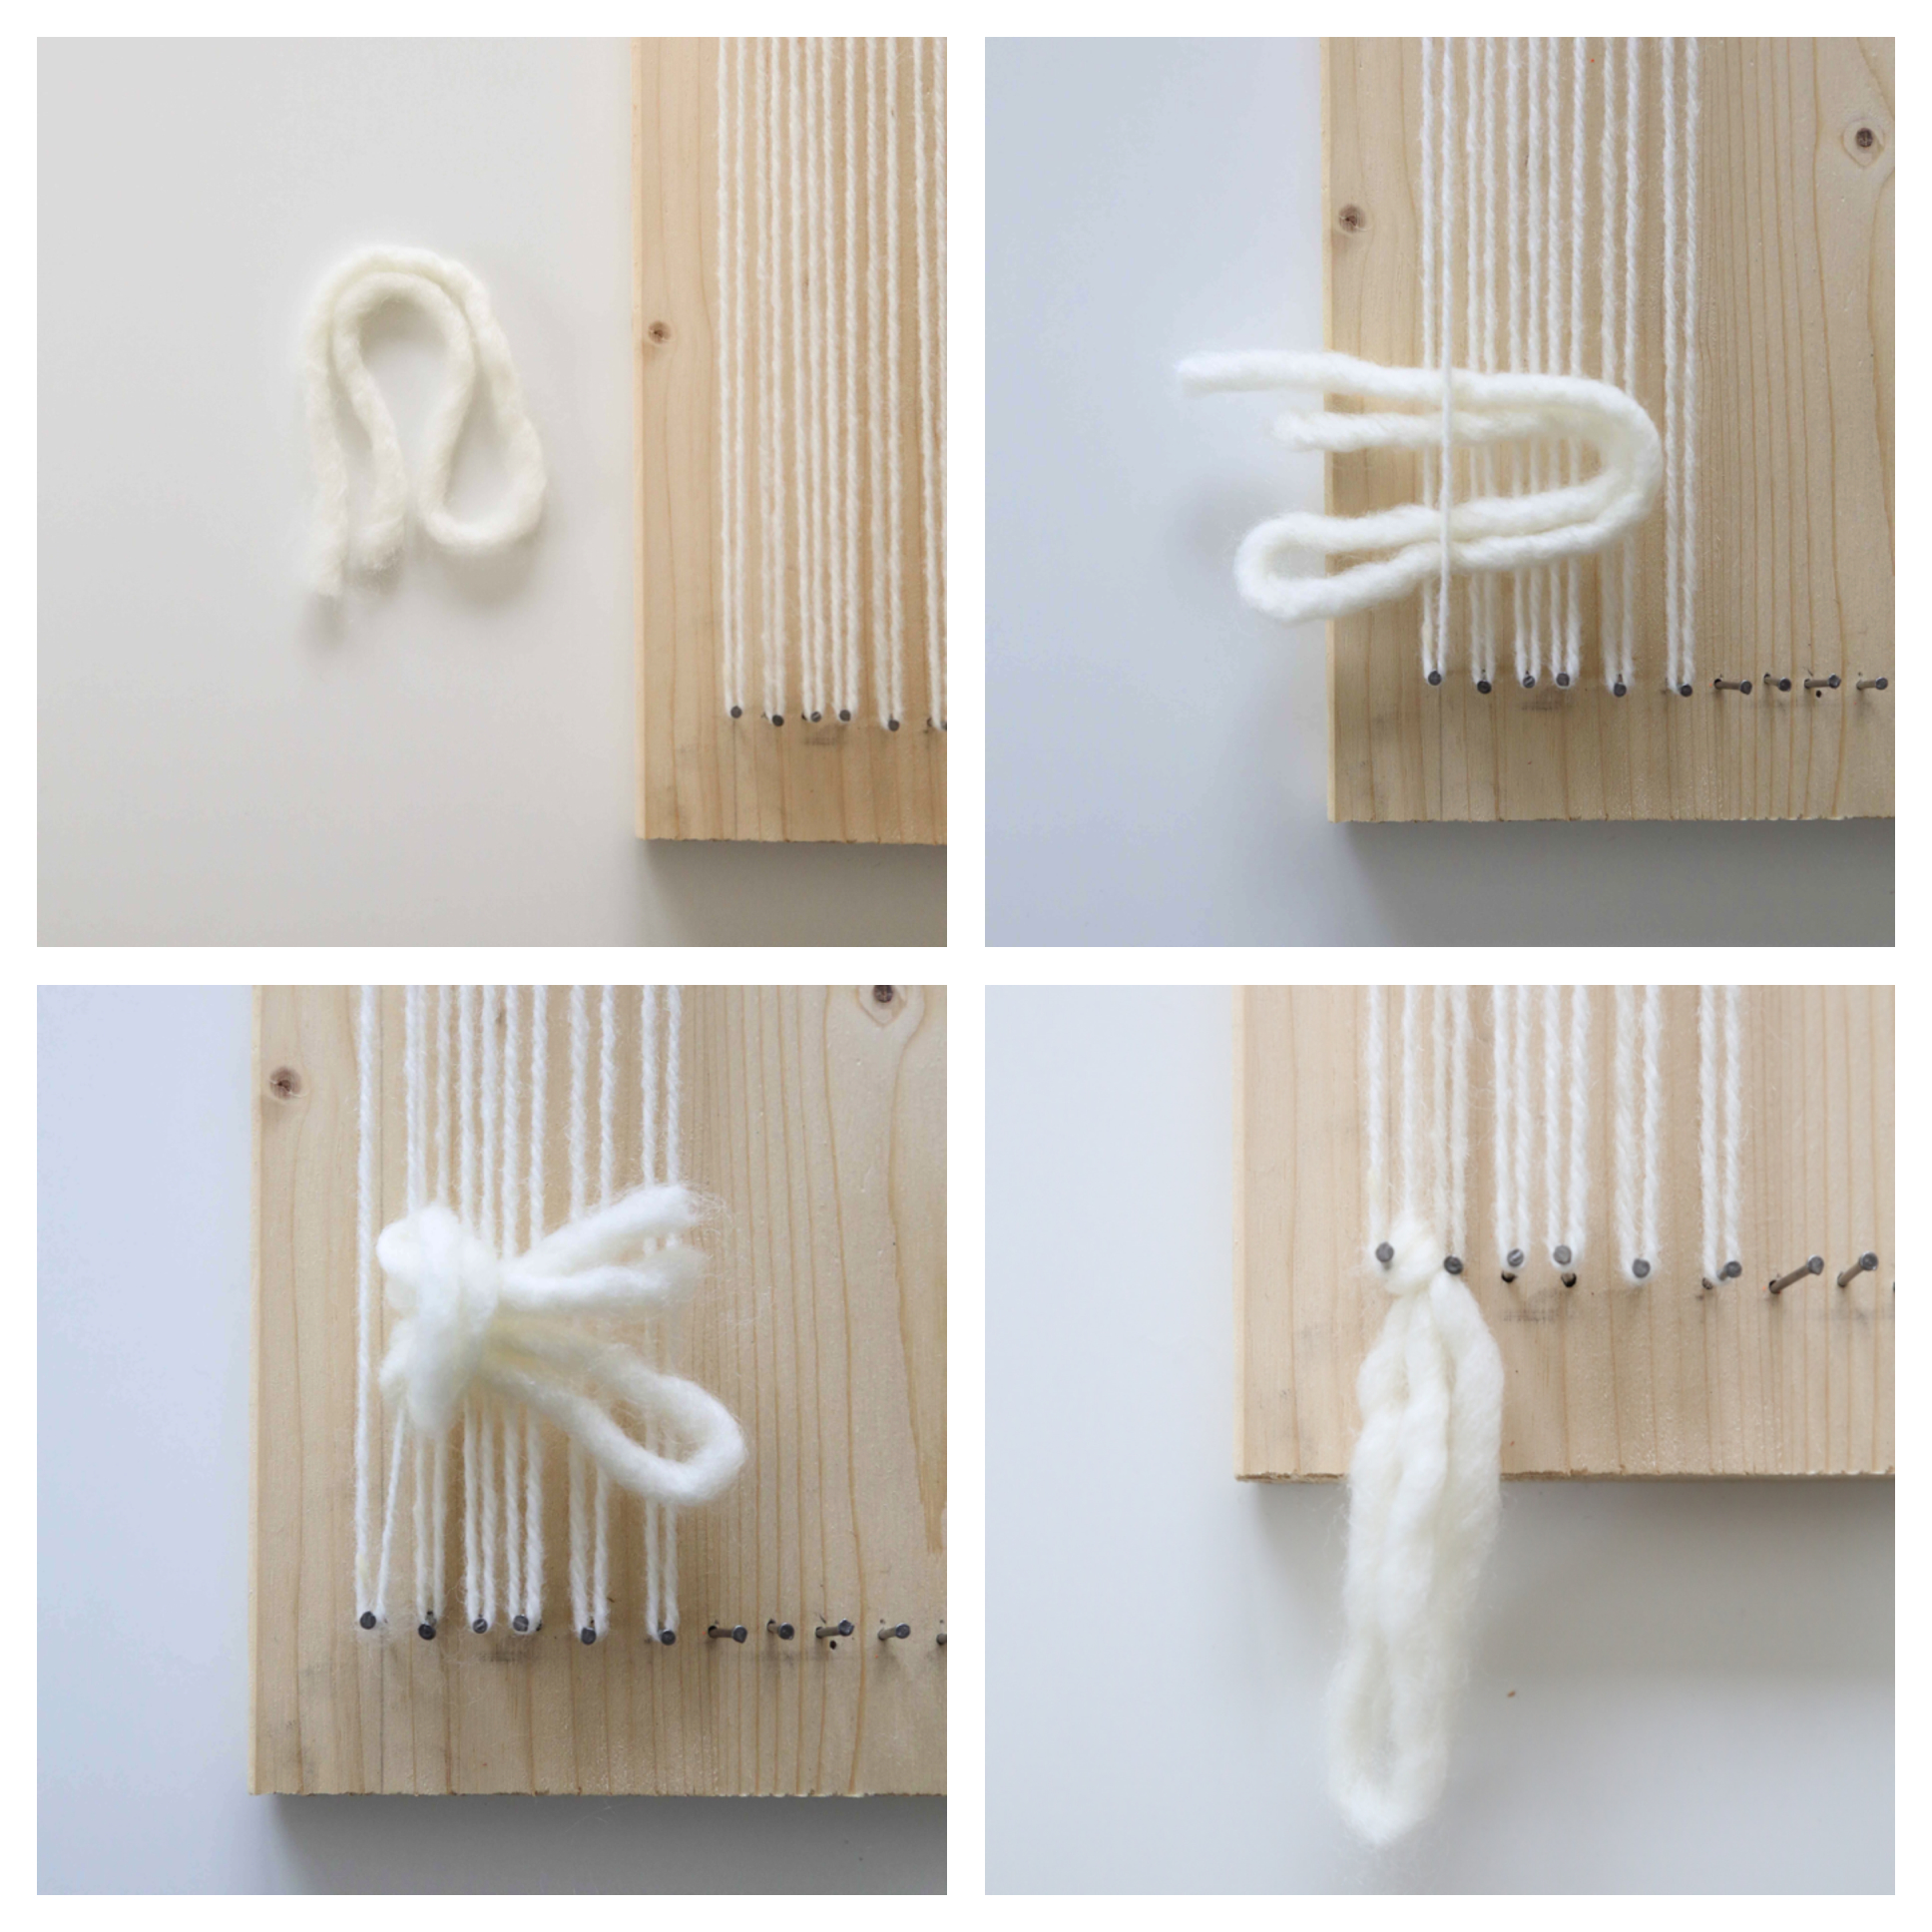
Making the tassels
- Take a thick piece of yarn measuring around 40cm and fold in half and in half again. You will make 1 per nail so I cut 28 pieces in this case.
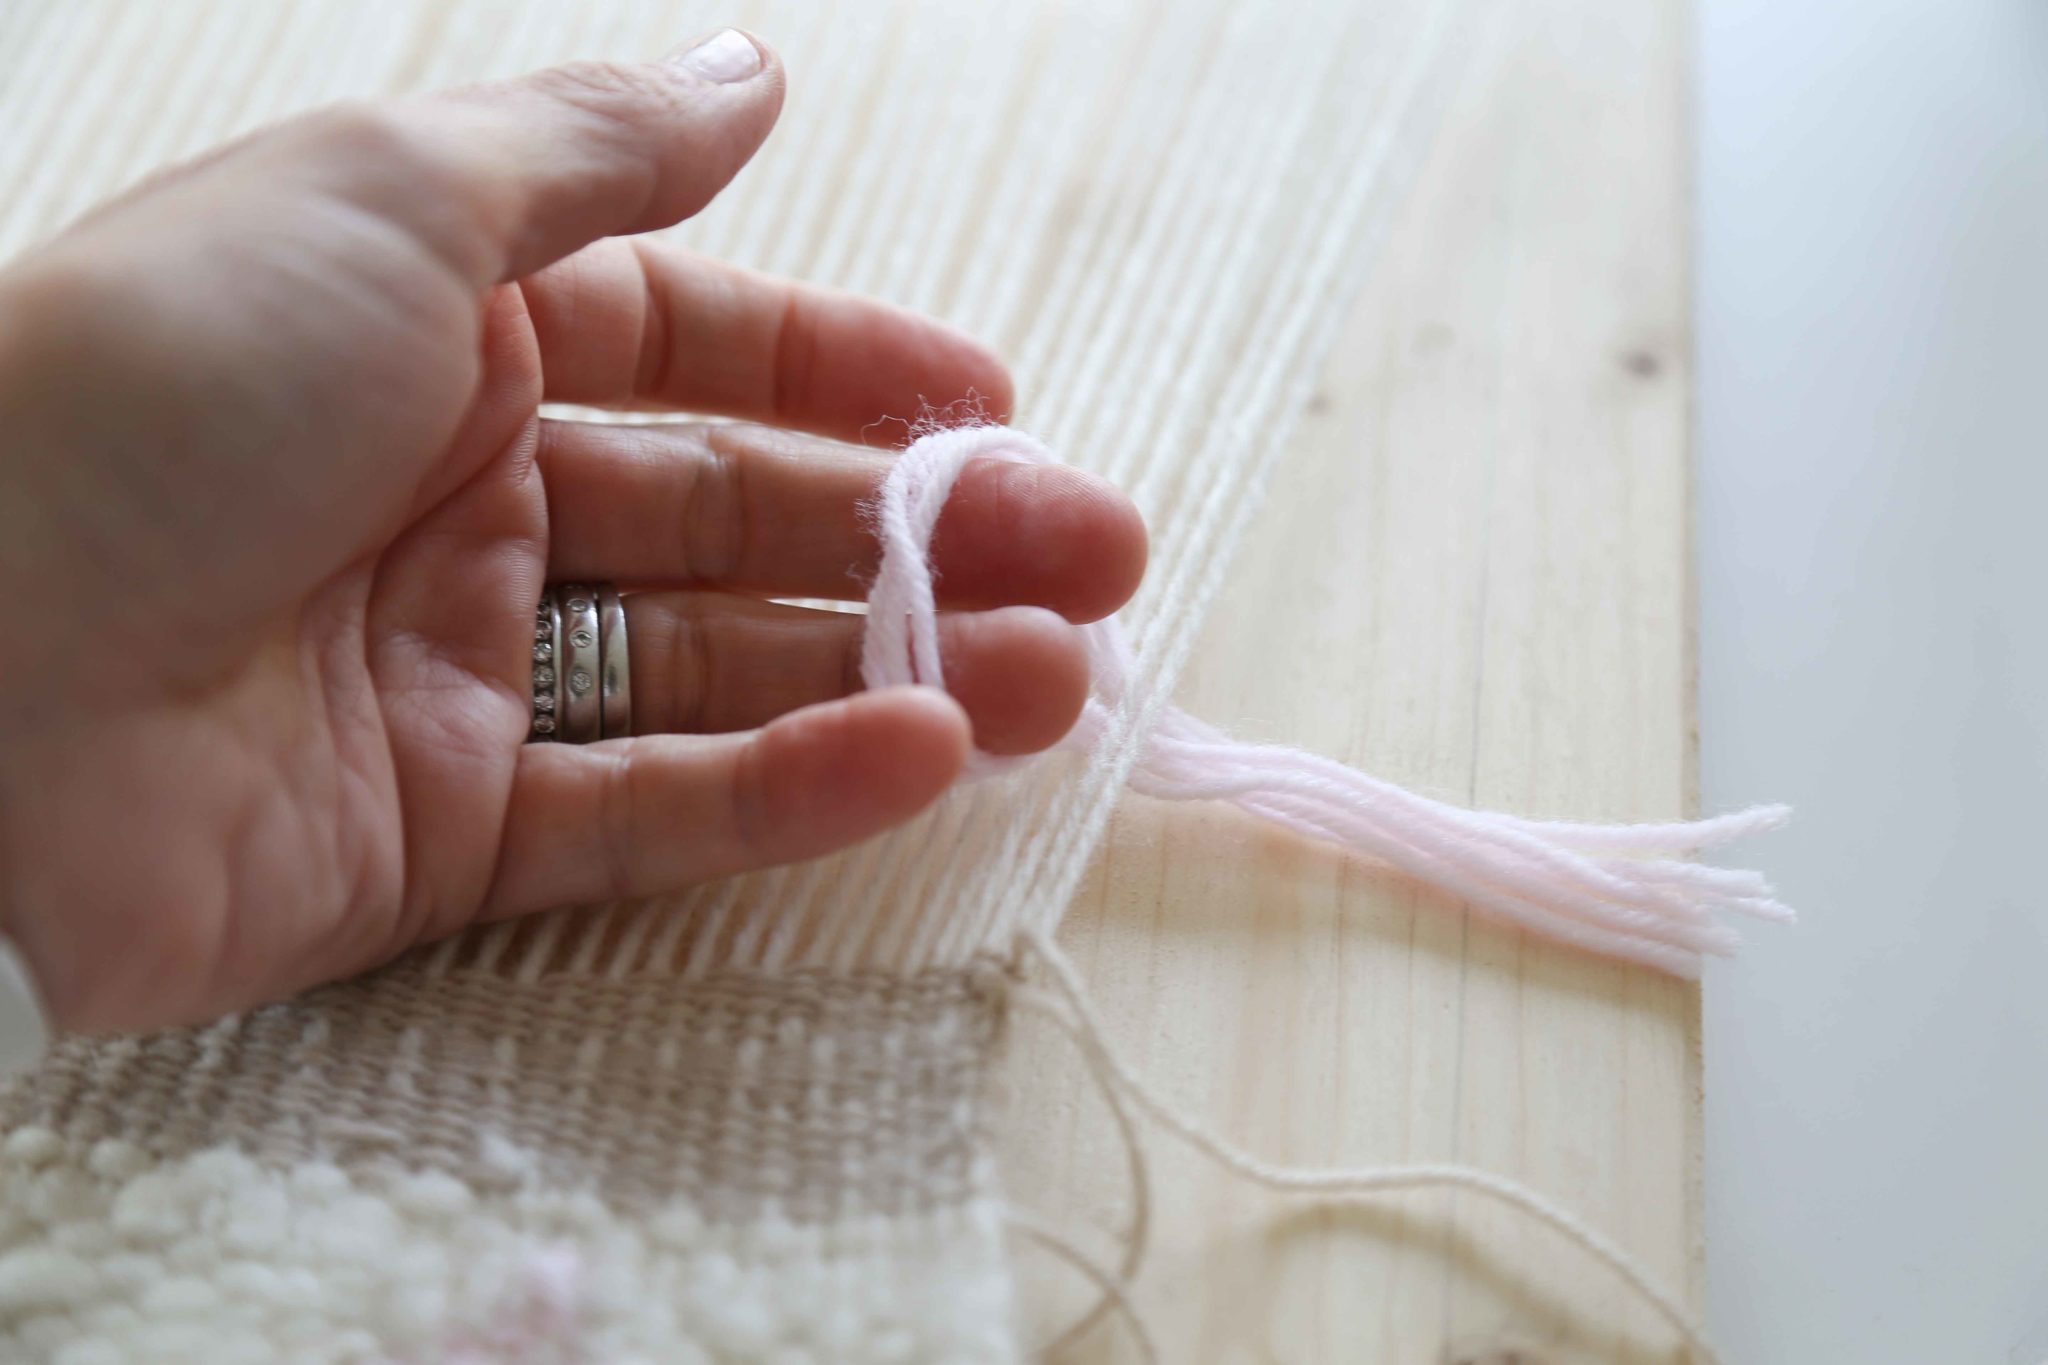
- Slip the centre of your folded fringe over the first warp and under the second and then curl it around and push it back under the second warp (as in the picture).
- Fold the long ends through the centre.
- Pull gently and the knot will tighten.
- Pull the tassel all the way to the bottom of the peg so it rests underneath.
- Repeat.
- On the last nail you will go through the loop knot.
I left the tassels uncut until I had finished the whole weave but you can trim them now if you would like.
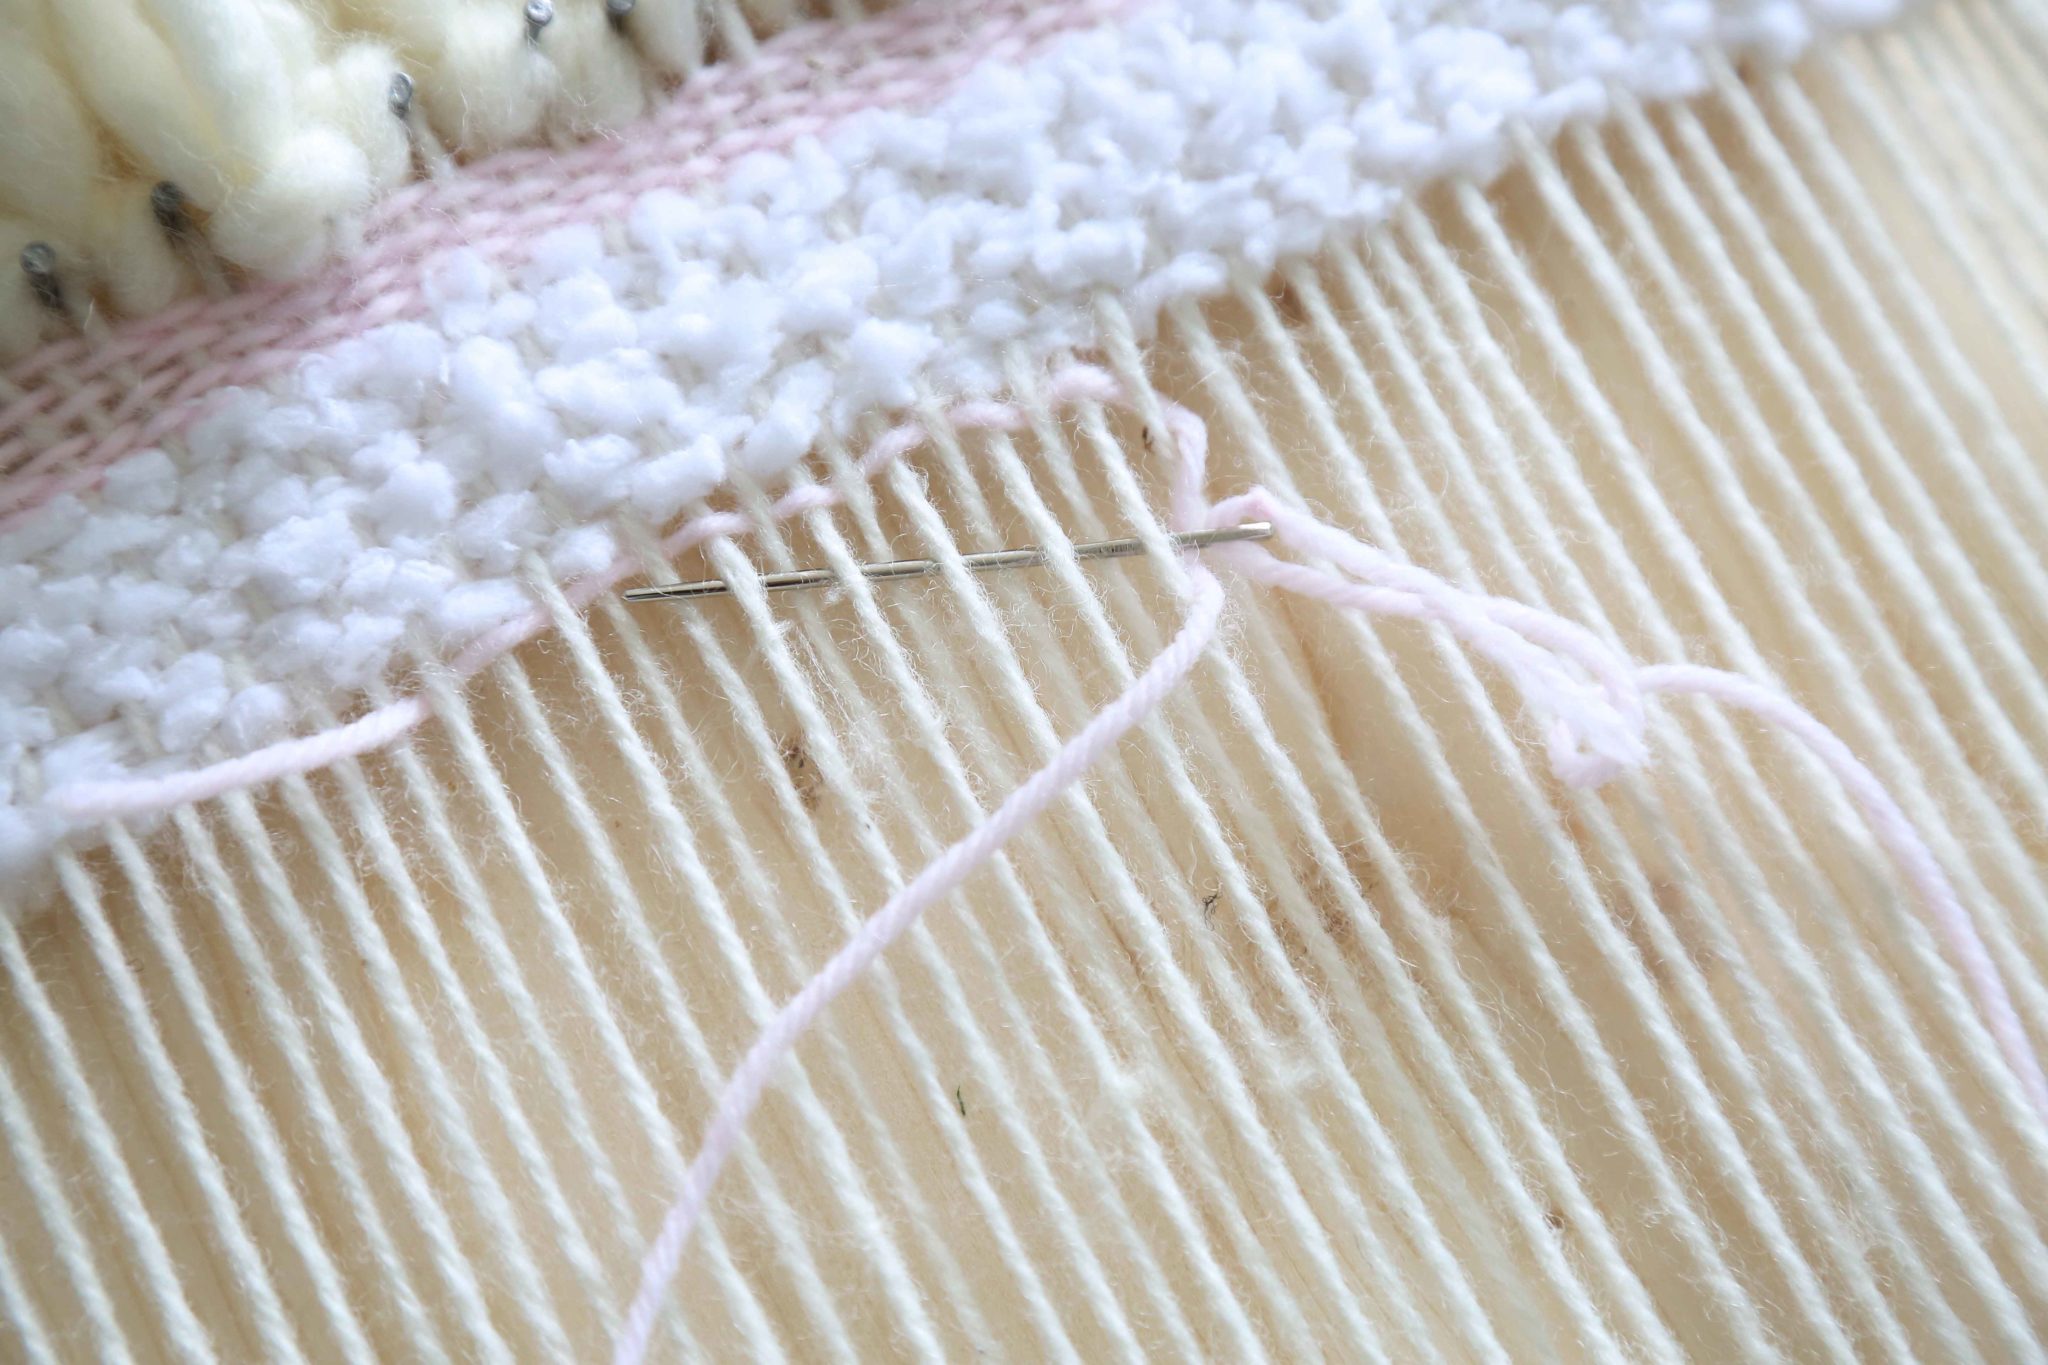
Now it’s time to get weaving…
- Cut a nice long piece of yarn (a metre or so) and thread it through the needle.
- Tie a knot at the end so it doesn’t slip through the eye.
- Start by going under the 1st warp strand and then over the 2nd, under the 3rd over the 4th, etc.
- Once you have reached the end pull your yarn through until you have a couple of cm’s or so where you started on the 1st warp strand. These are called ‘tails’.
- You can tuck this neatly around and under once you have a few rows under your belt.
When you pull your yarn through it is a good idea to pull up the opposite corner and then you can push the yarn down, I used a fork to push the yarn down gently onto the previous row. Don’t tug too hard or the weave will clinch in the middle.
Starting the weave
When you have reached the end of your yarn or want to change to another yarn, keep around a 3cm tail so you can tuck it in the back.
Later when you have finished the weave and turn it over you can stitch it under and hide on the backside.
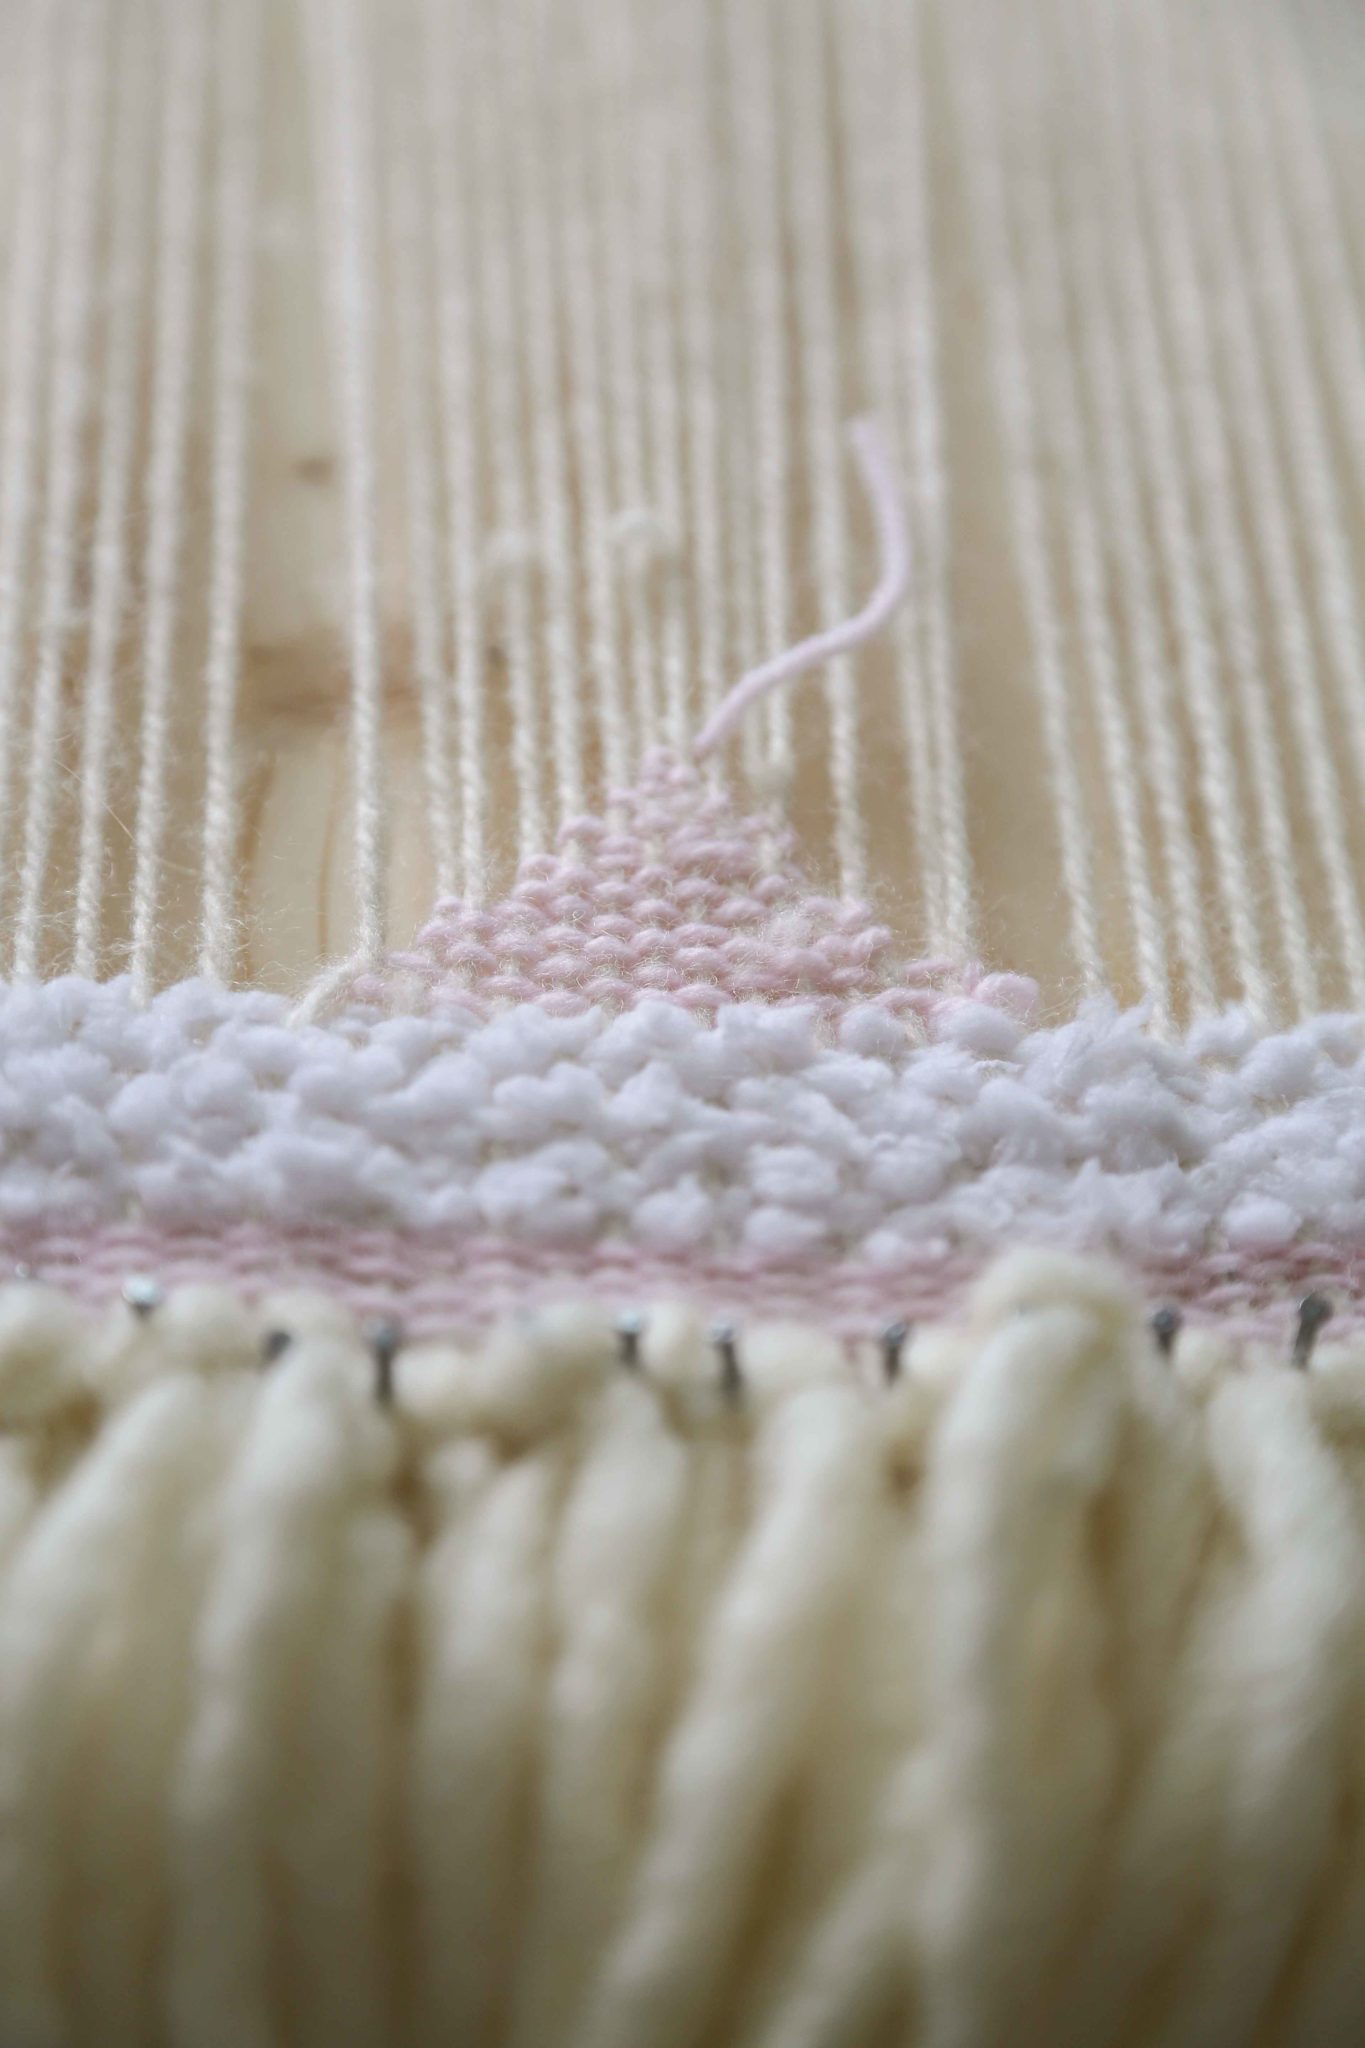
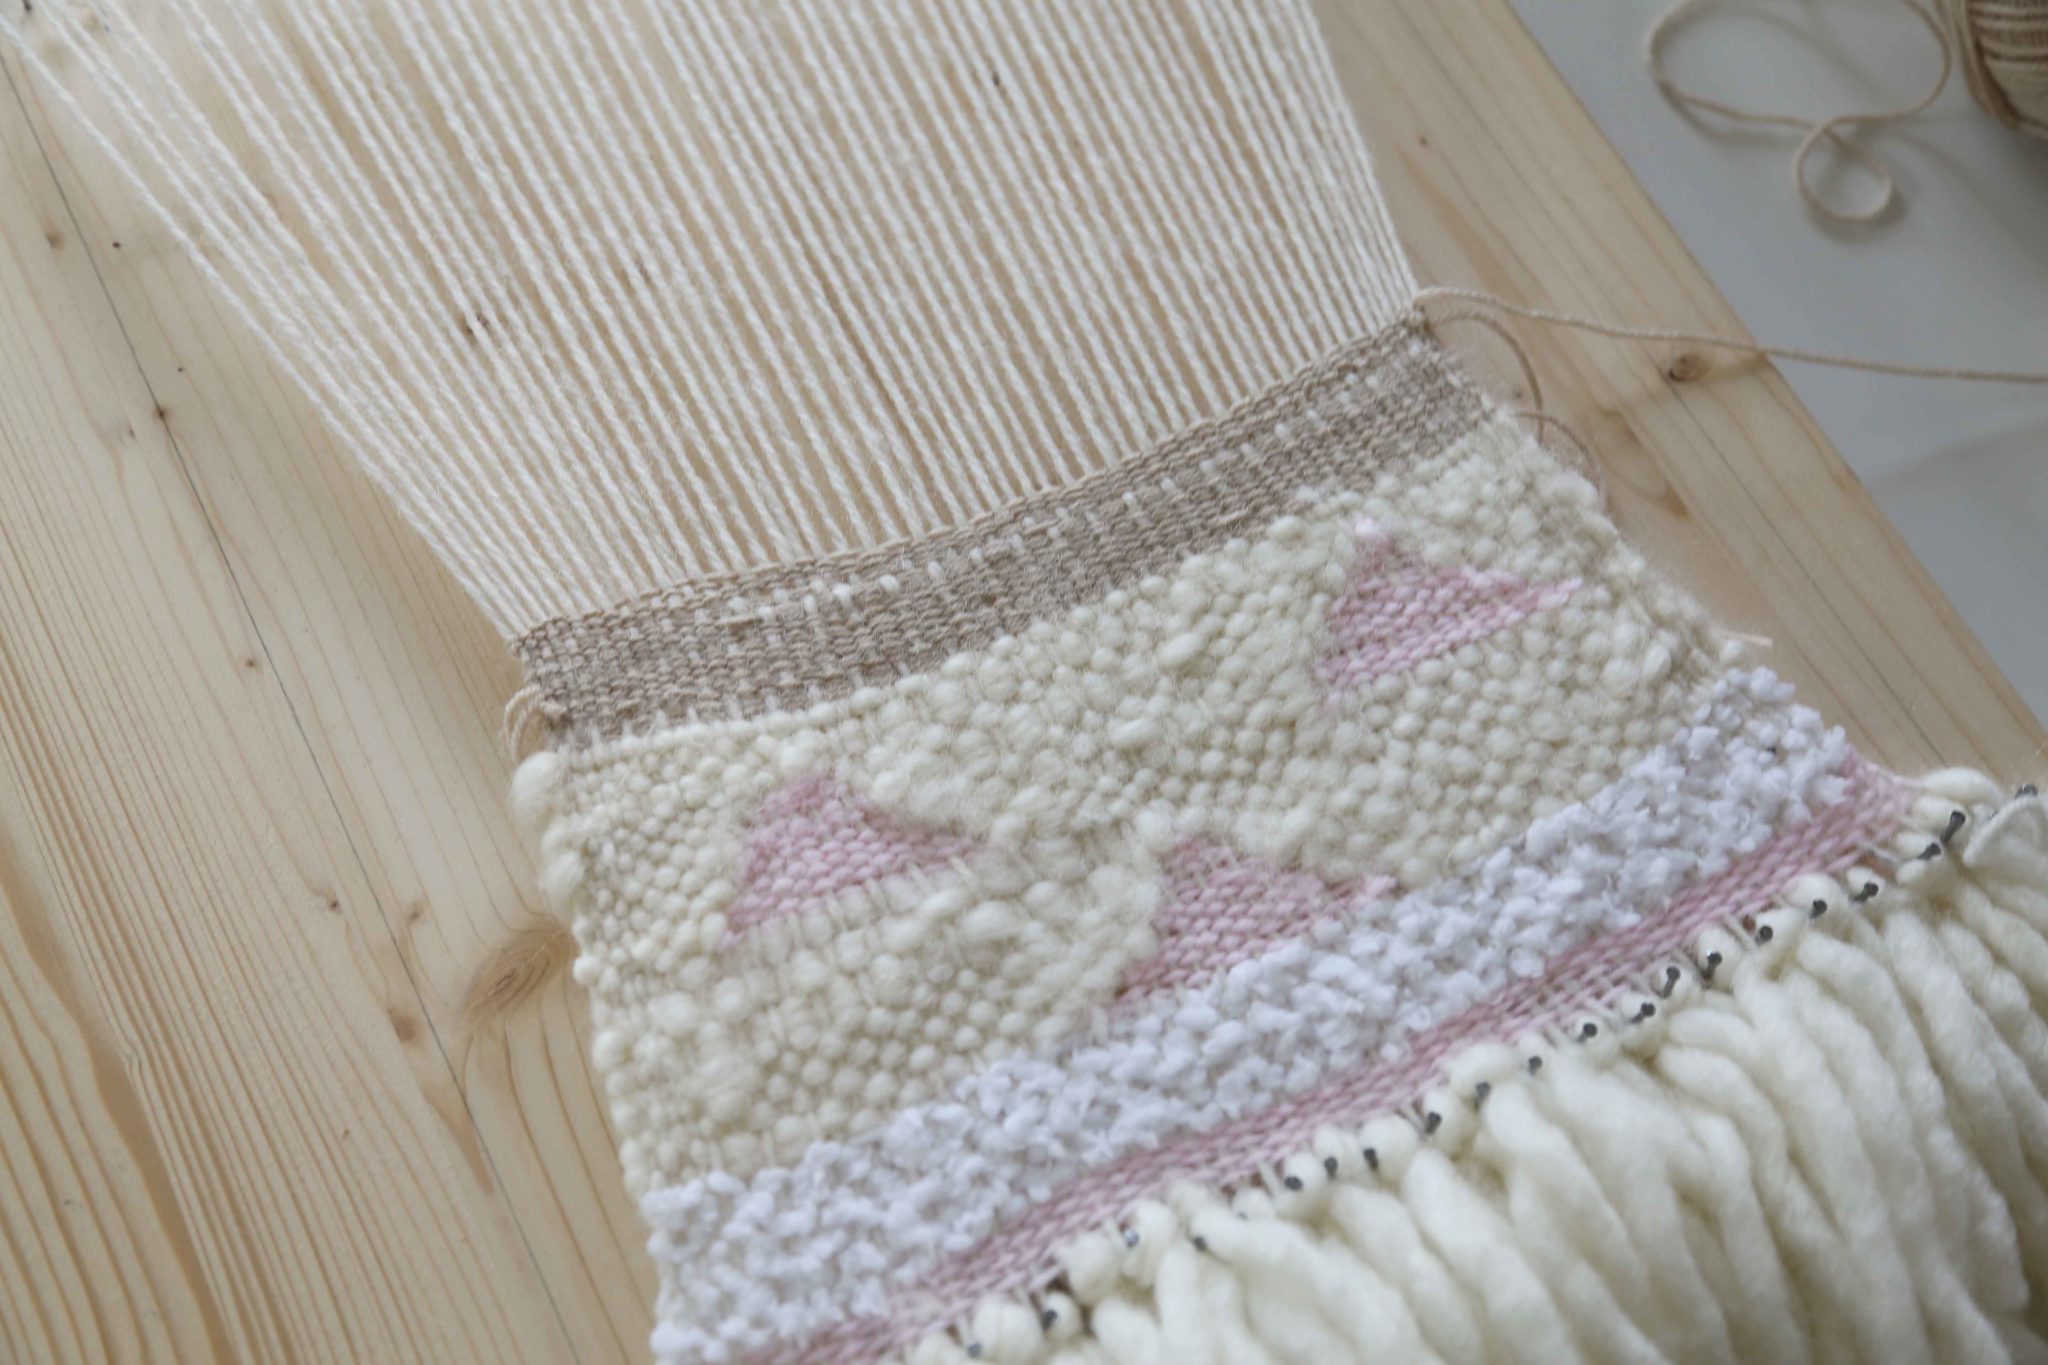
After a bit of straightforward weaving I wanted to be a bit more adventurous and add in a couple of triangles to give my weave a little Aztec look.
Creating a triangle…
Starting the triangle
To create the triangle I worked out where the middle was on the warp threads and how big I wanted to the triangle to be.
My triangle was to be 17 warp threads wide.
I wove two rows of weave within the 17 warp threads before deducting on each side of the triangle.
For example:
- Two rows of 17
- Two rows of 15
- Until you get to two rows of one.
Tuck the extra thread under after wrapping once around the warp.
The finished triangle
Three triangles
Filling in the gaps
To fill in the gaps either side of the triangle. This is pretty straightforward.
- Cut the yarn colour of your choice and use the same method as you did on the start of your weaving
- Under over, under over, up until you reach the triangle then turn back on your self and onto the next row
- You will be increasing by a warp thread every two rows.
I wanted to create two more triangles above the middle one, one on the left and one on the right so I wove up to the row where I wanted to start the next triangle. I wove each triangle one at a time, again using 17 warp threads. Once I had finished the two pink triangles I filled in with the cream wool.
I loved using different textures in this hanging; it makes it a bit more interesting on the eye.
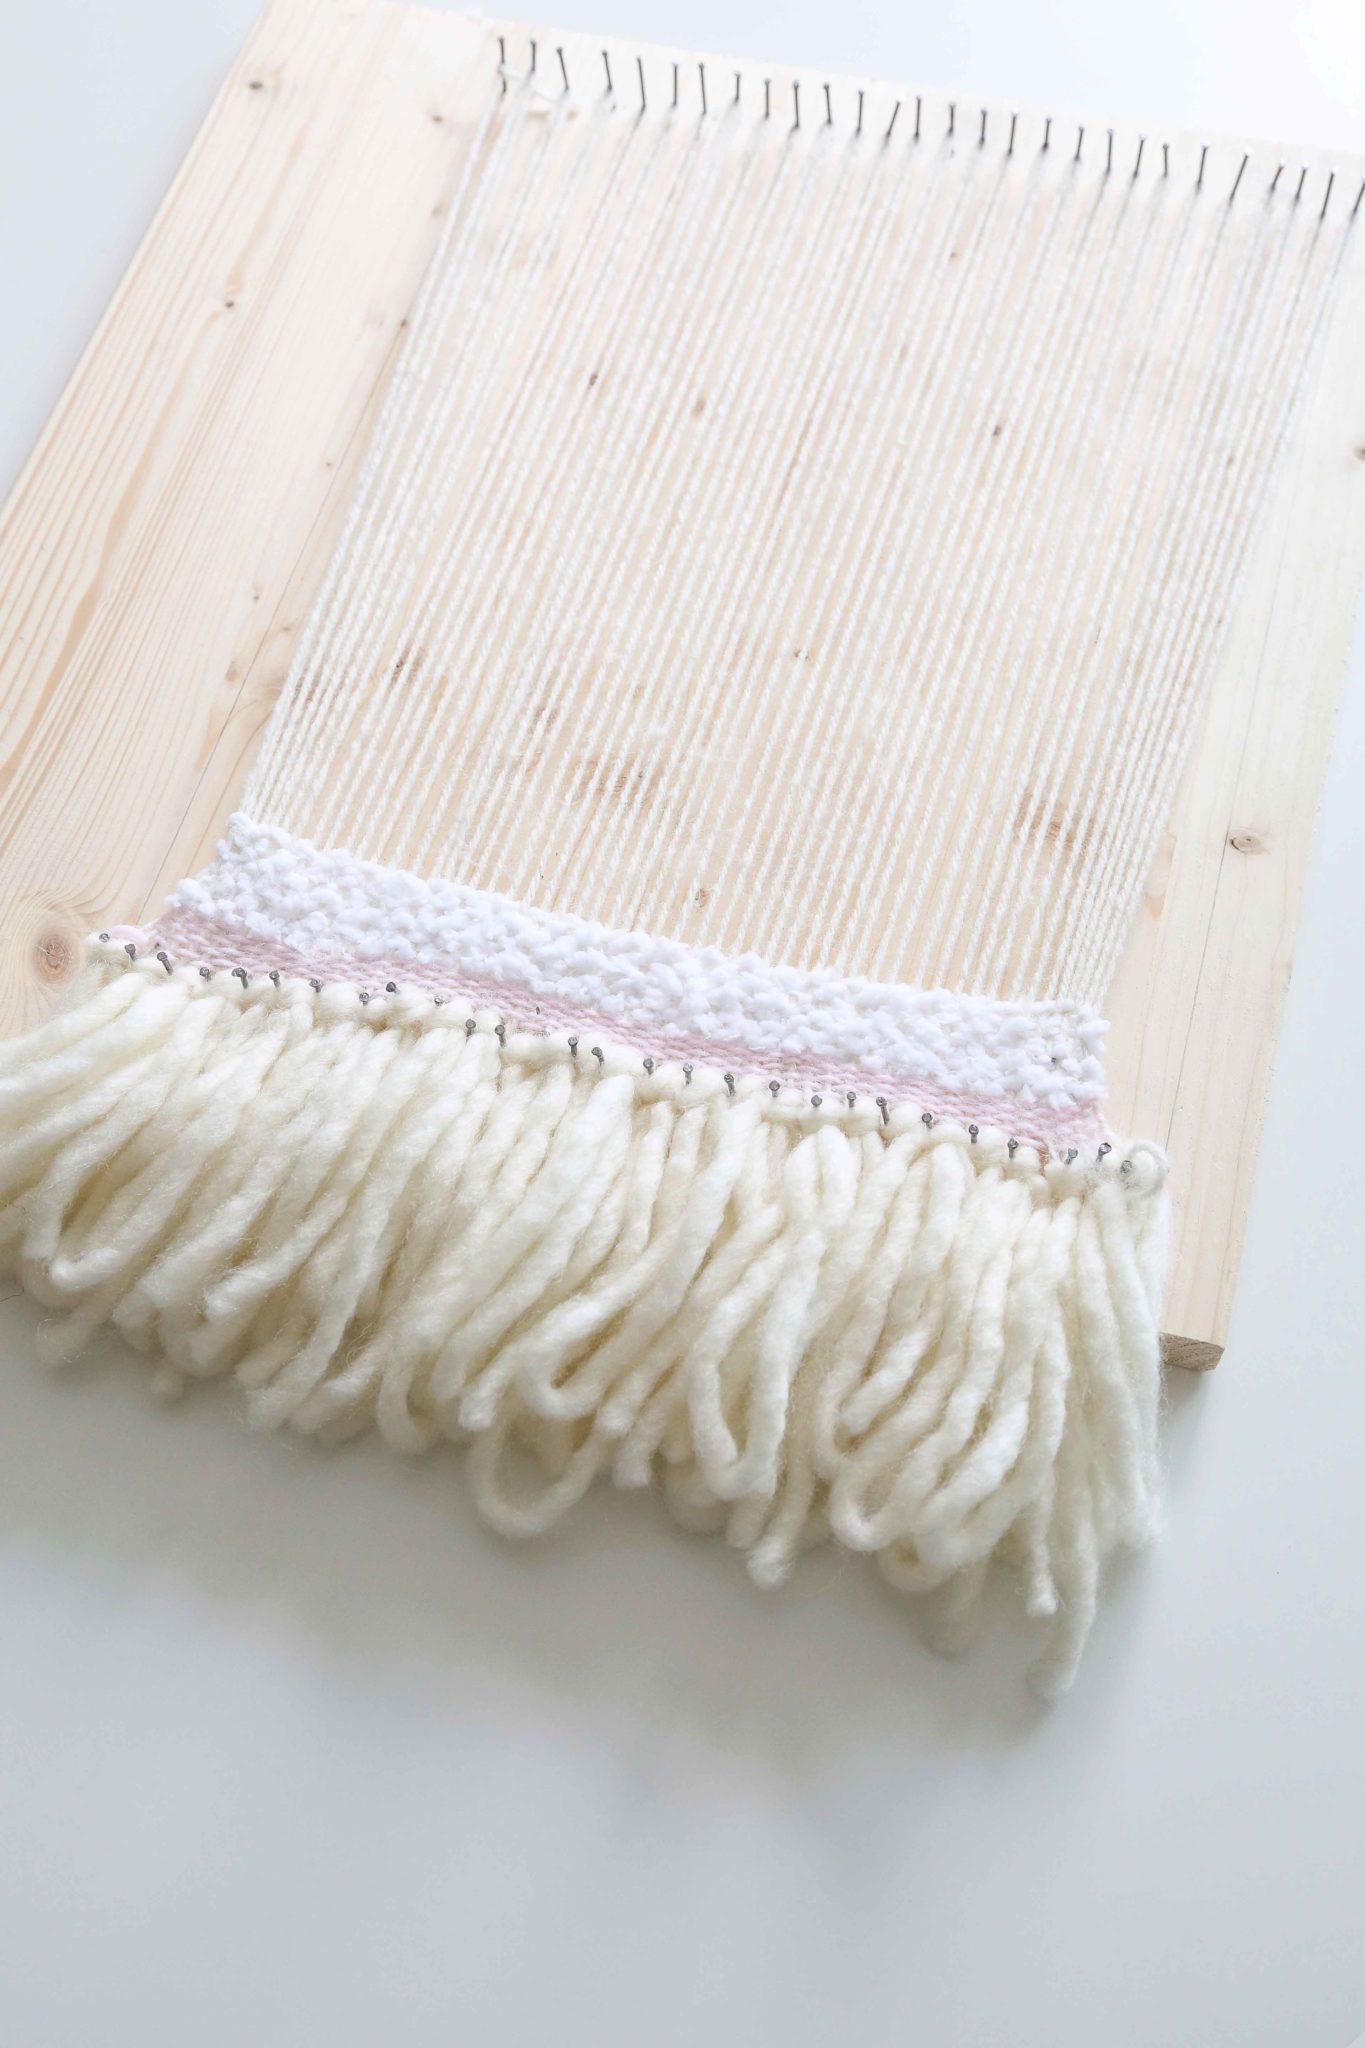
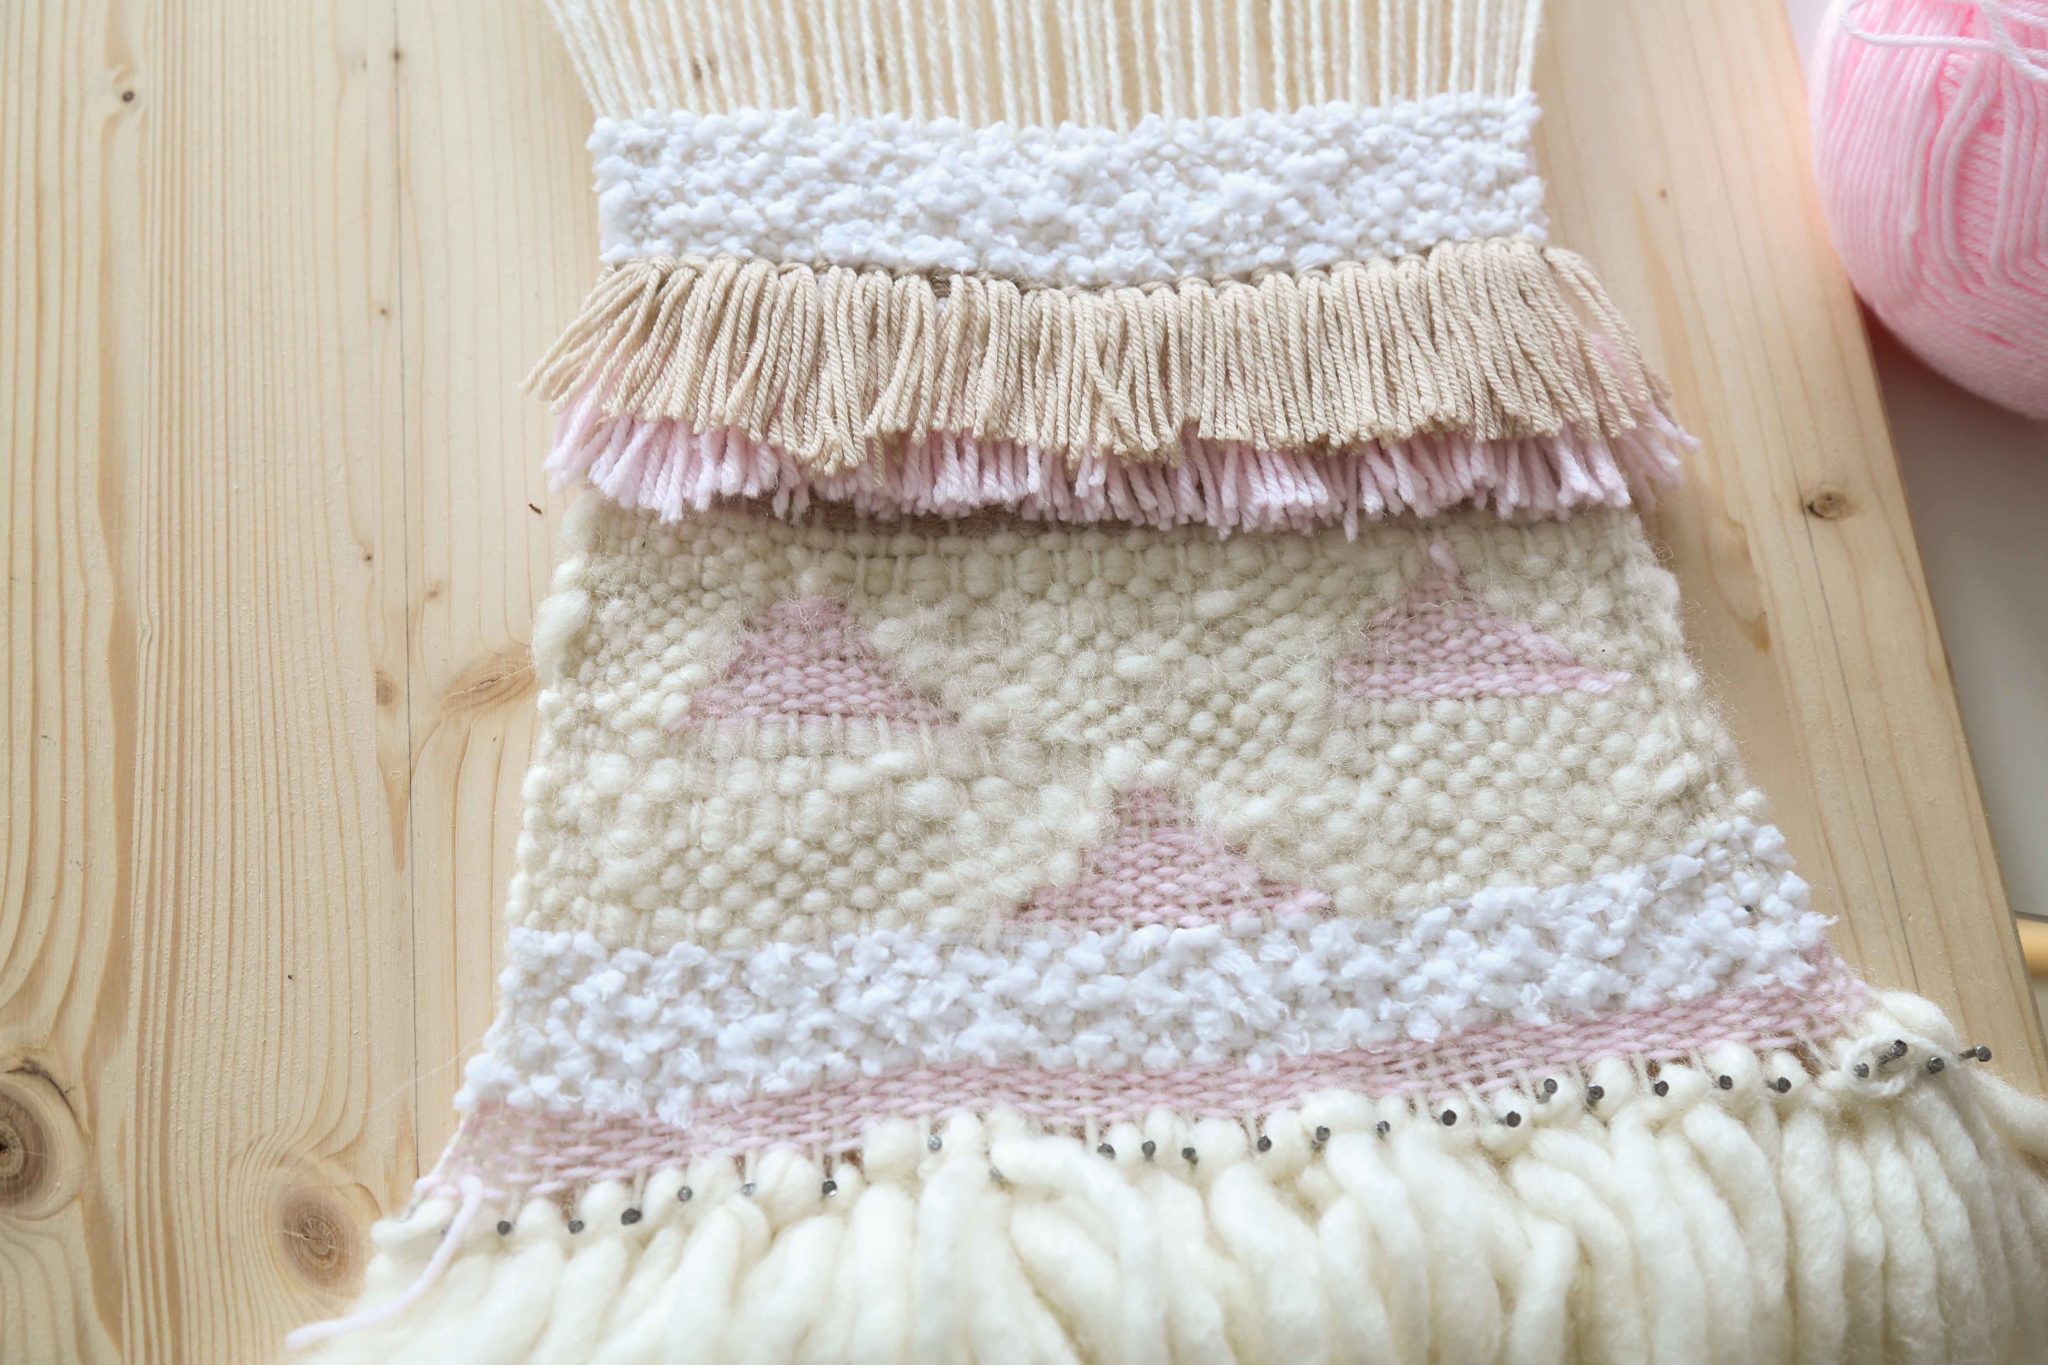
The fringing
I changed my thread again; the next section was going to be covered by a fringing so I used a simple yarn.
Using a simple yarn also enables the fringe to lay flat. I decided on two rows of tassels so I chose the pale pink wool for the first row (see above for the method on how to make the tassels.)
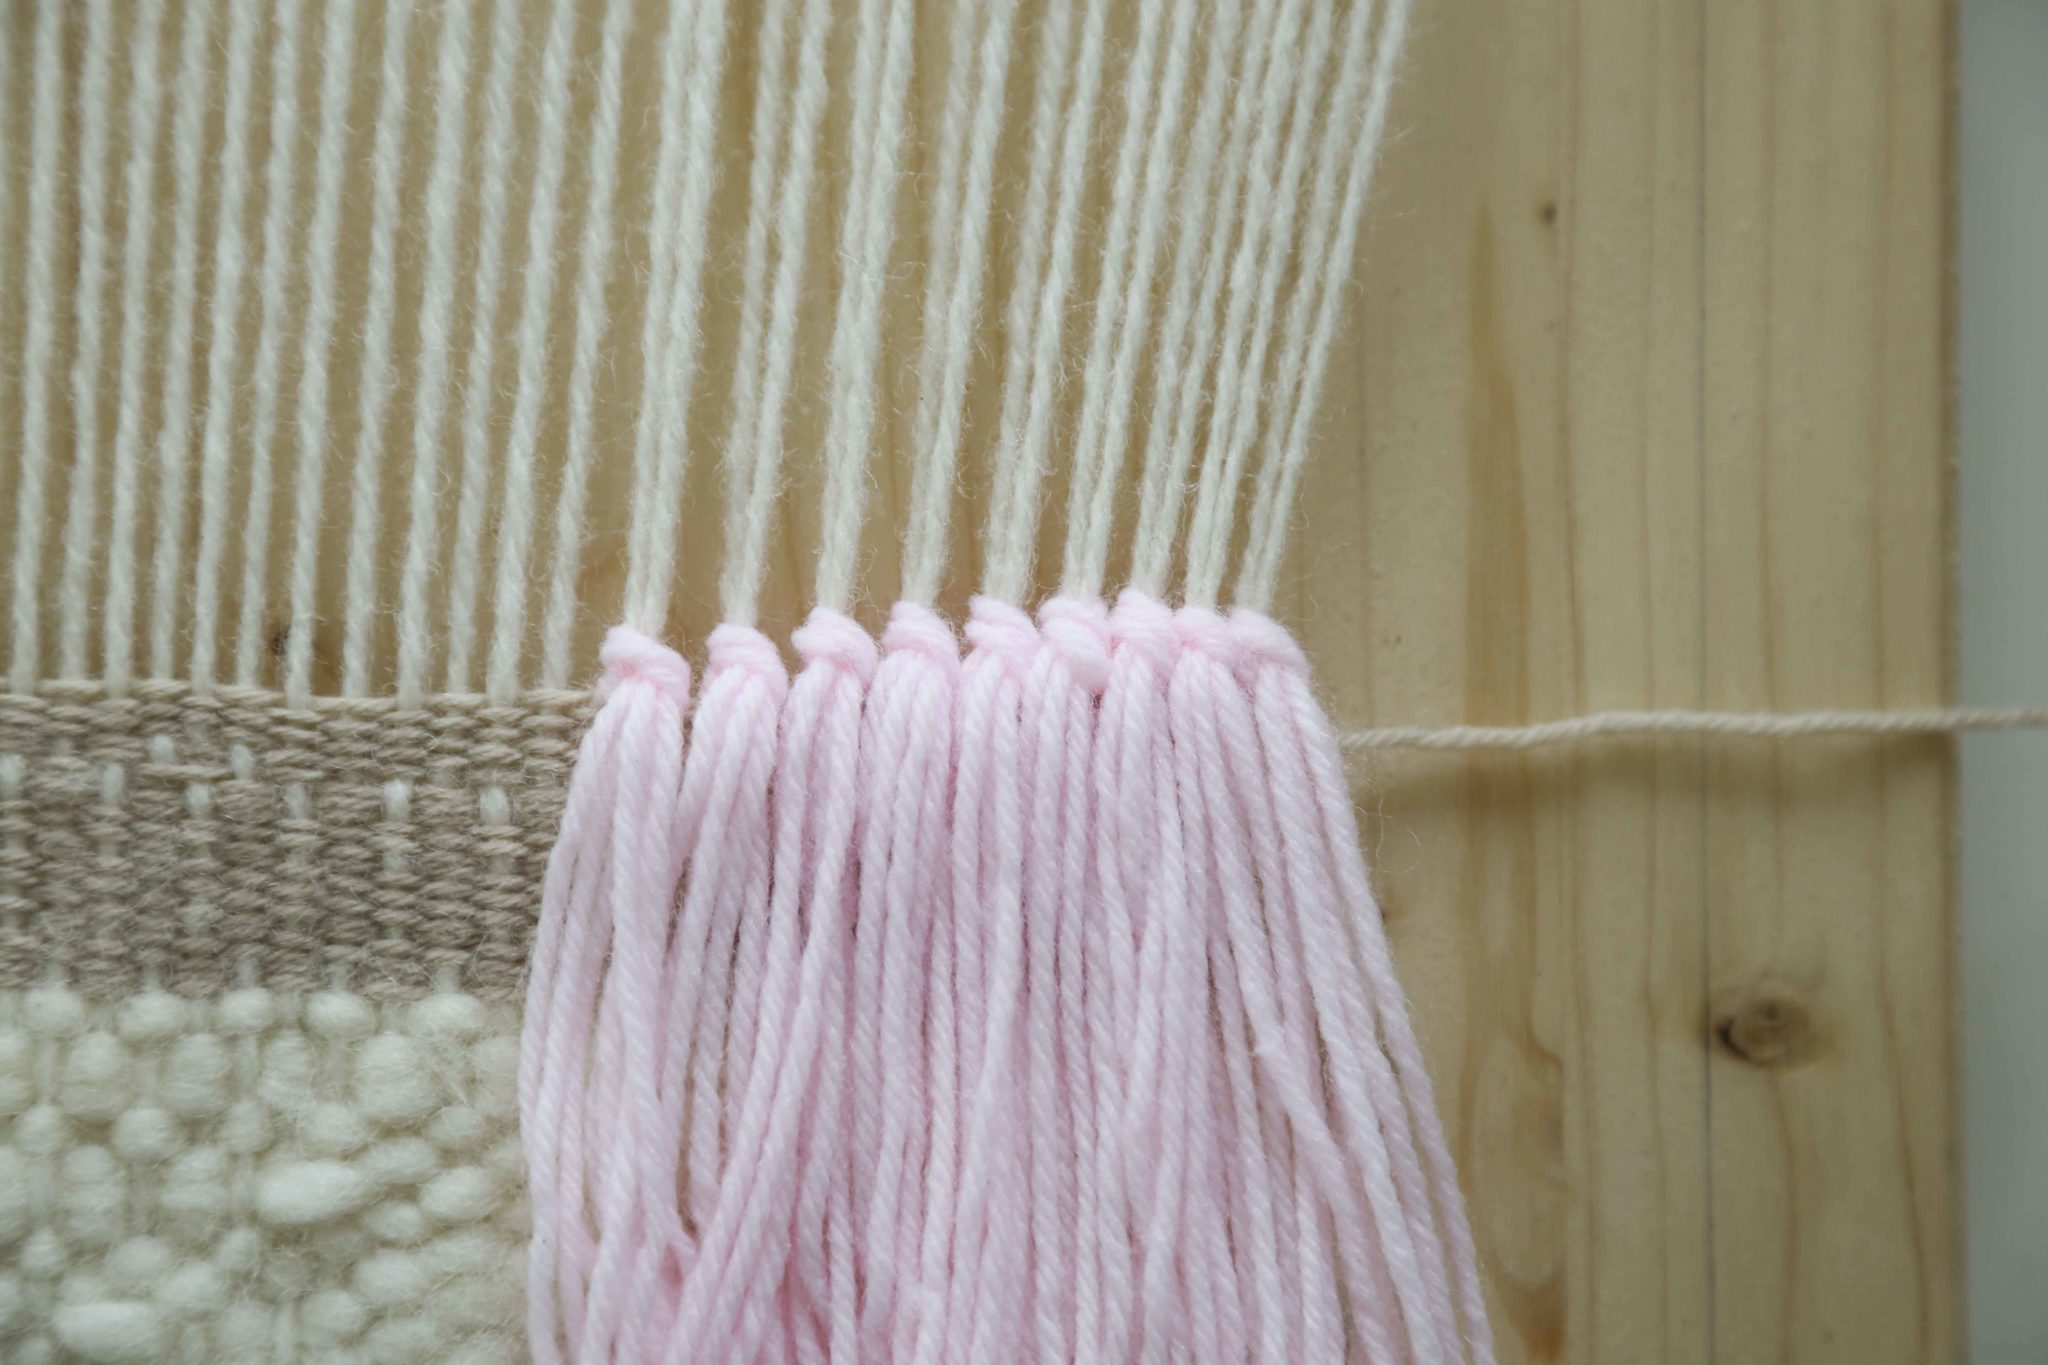
Making the tassel fringe
Once the tassel fringe is all nicely pulled into place, weave a few more rows.
- I wove 5 rows onto top of the tassels in this case, using the under over technique.
- I then chose a complimentary colour for the next row of tassels.
- Once all the tassels were on I trimmed them to the size that I wanted.
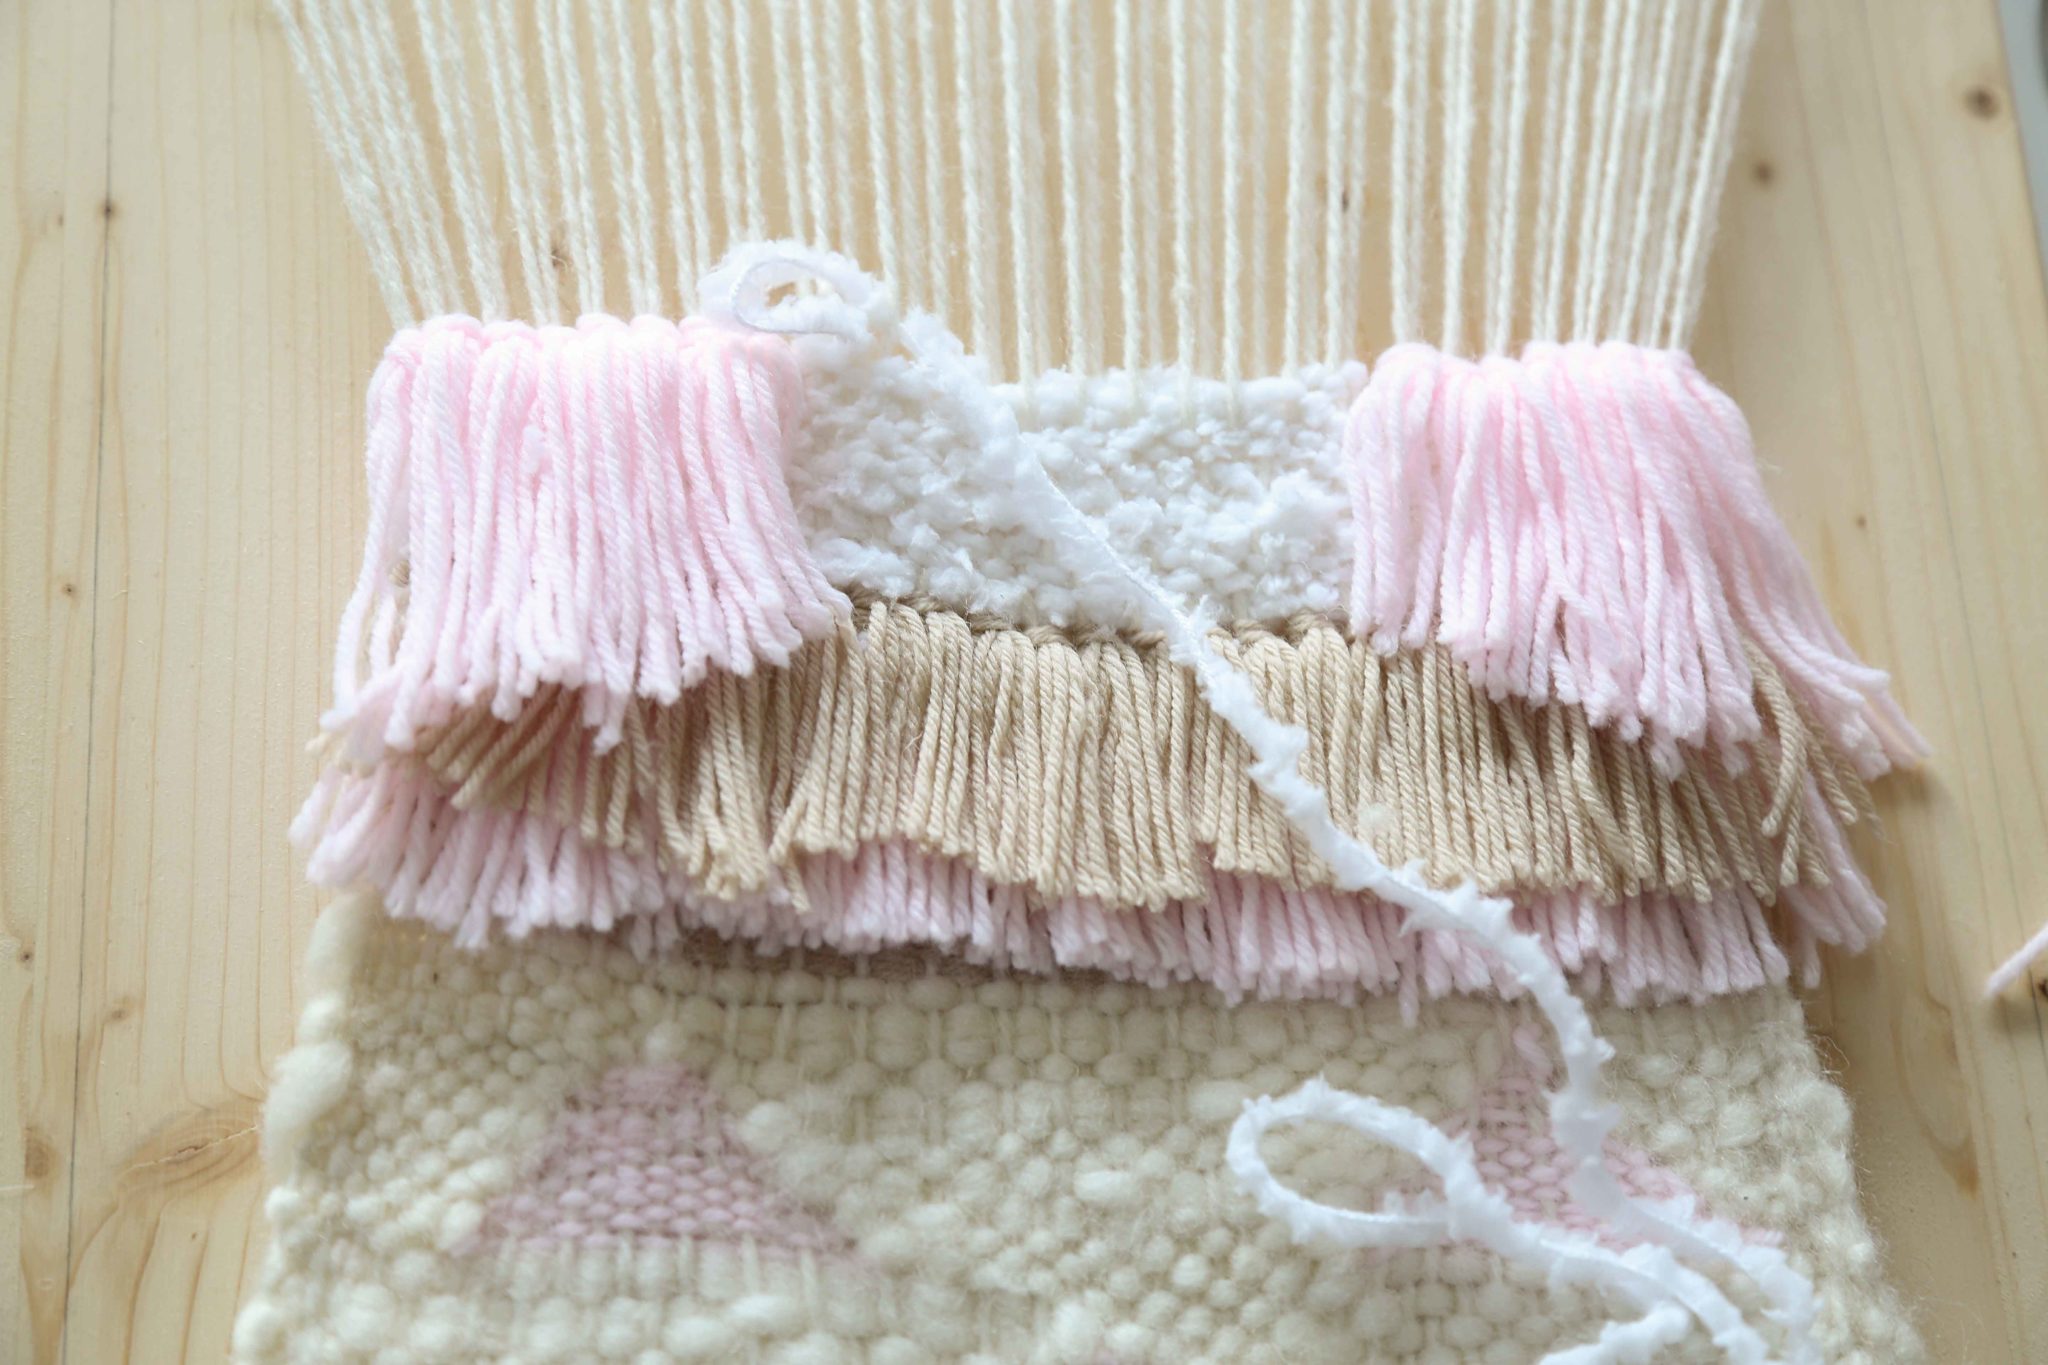
- I then created a few more rows in the nice textured white wool. I wanted a little bit more fringing on the right and the left to balance the weave out, so I cut 8 strands for 8 individual tassels.
- Starting on the far left warp thread tie the knots along. Then repeat on the other side.
- Once I had them in place either side I filled in with the textured white yarn.
When I had filled the gaps with the yarn I trimmed them at an angle, the centre being the shortest piece outwards.
I then wove another row and found the middle warp thread. I wanted one large tassel on its own hanging in the middle so this time I cut 5 long threads (around 60cm in length) for this larger tassel and put all the threads together as one to make 1 large tassel.
Use the same method as previously mentioned to make the tassel.
Once you have knotted the tassel, I separated the tassel in half, so 5 threads one side 5 the other.
Again I wanted an angle look, so cut on an angle of 45 degrees either side into the middle of the tassel.
Nearly there…
I wove a few more rows and then finished off with two triangles in the middle, one on top of each other and two half triangles either side of those.
I think you can tell by the end that I felt a little more confident with creating the triangles and they are a lot better than the bottom ones but I think like everything ‘practice makes perfect’.
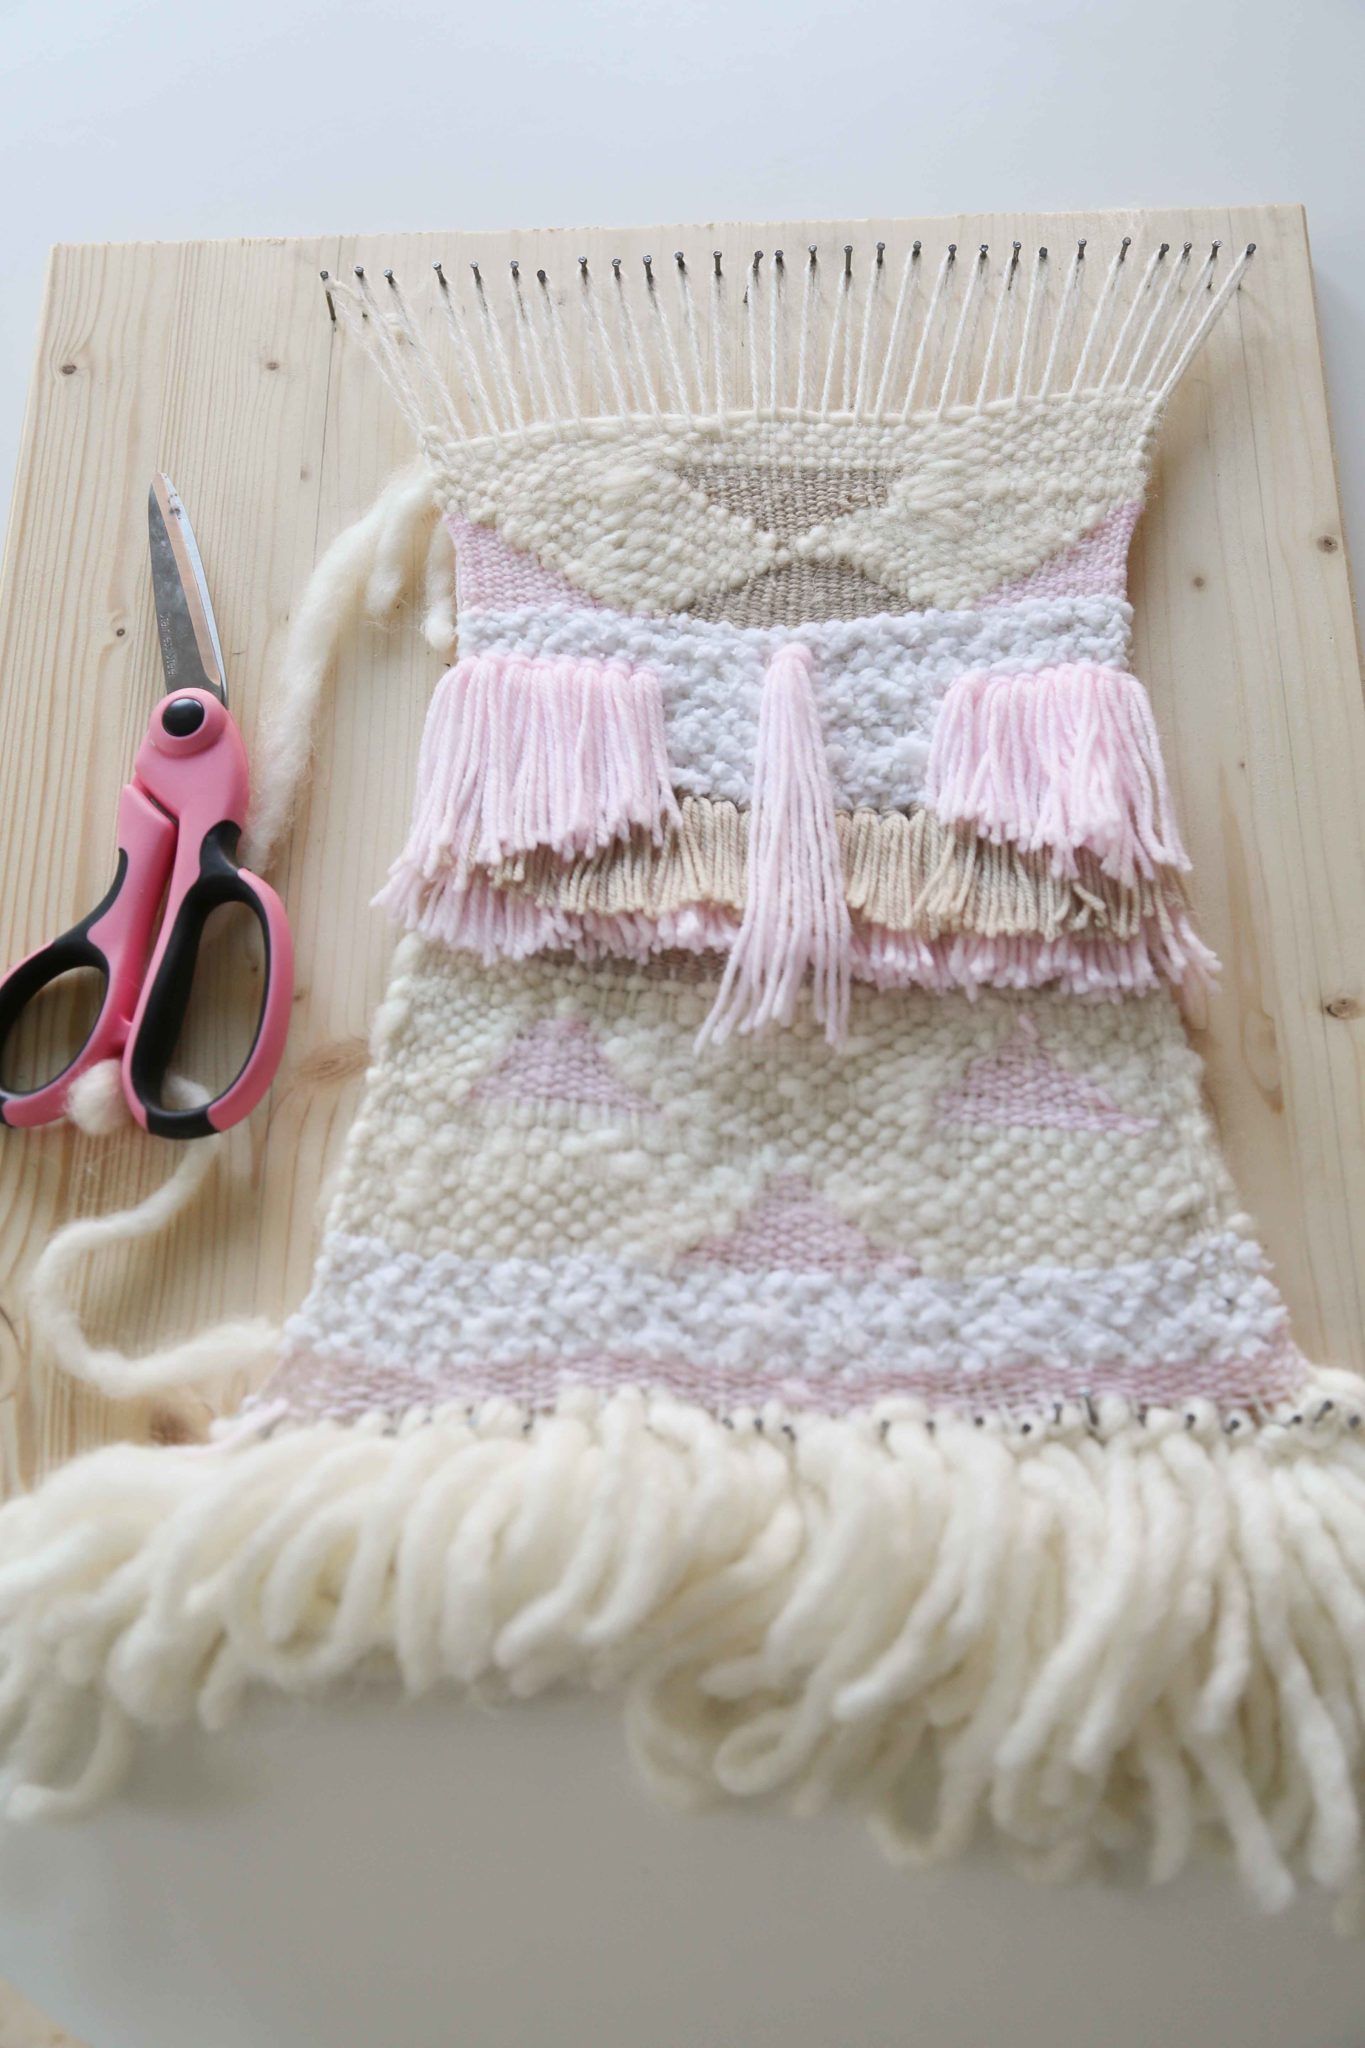
Completed weave on the loom
Once I finished the last few rows, you should have a couple of inches spare of warp thread, enough so you can tie a knot to secure it all.
- Cut the warp strands off, cut two at a time.
- Again you need enough so you can tie a knot and then fold them back over behind your weaving. Keep the bottom warp threads on the frame whilst you do this.
- Knot two warp threads together, bringing the knot up to the end of the weave.
- Once you have tied the knots securely you can take the weave off the loom.
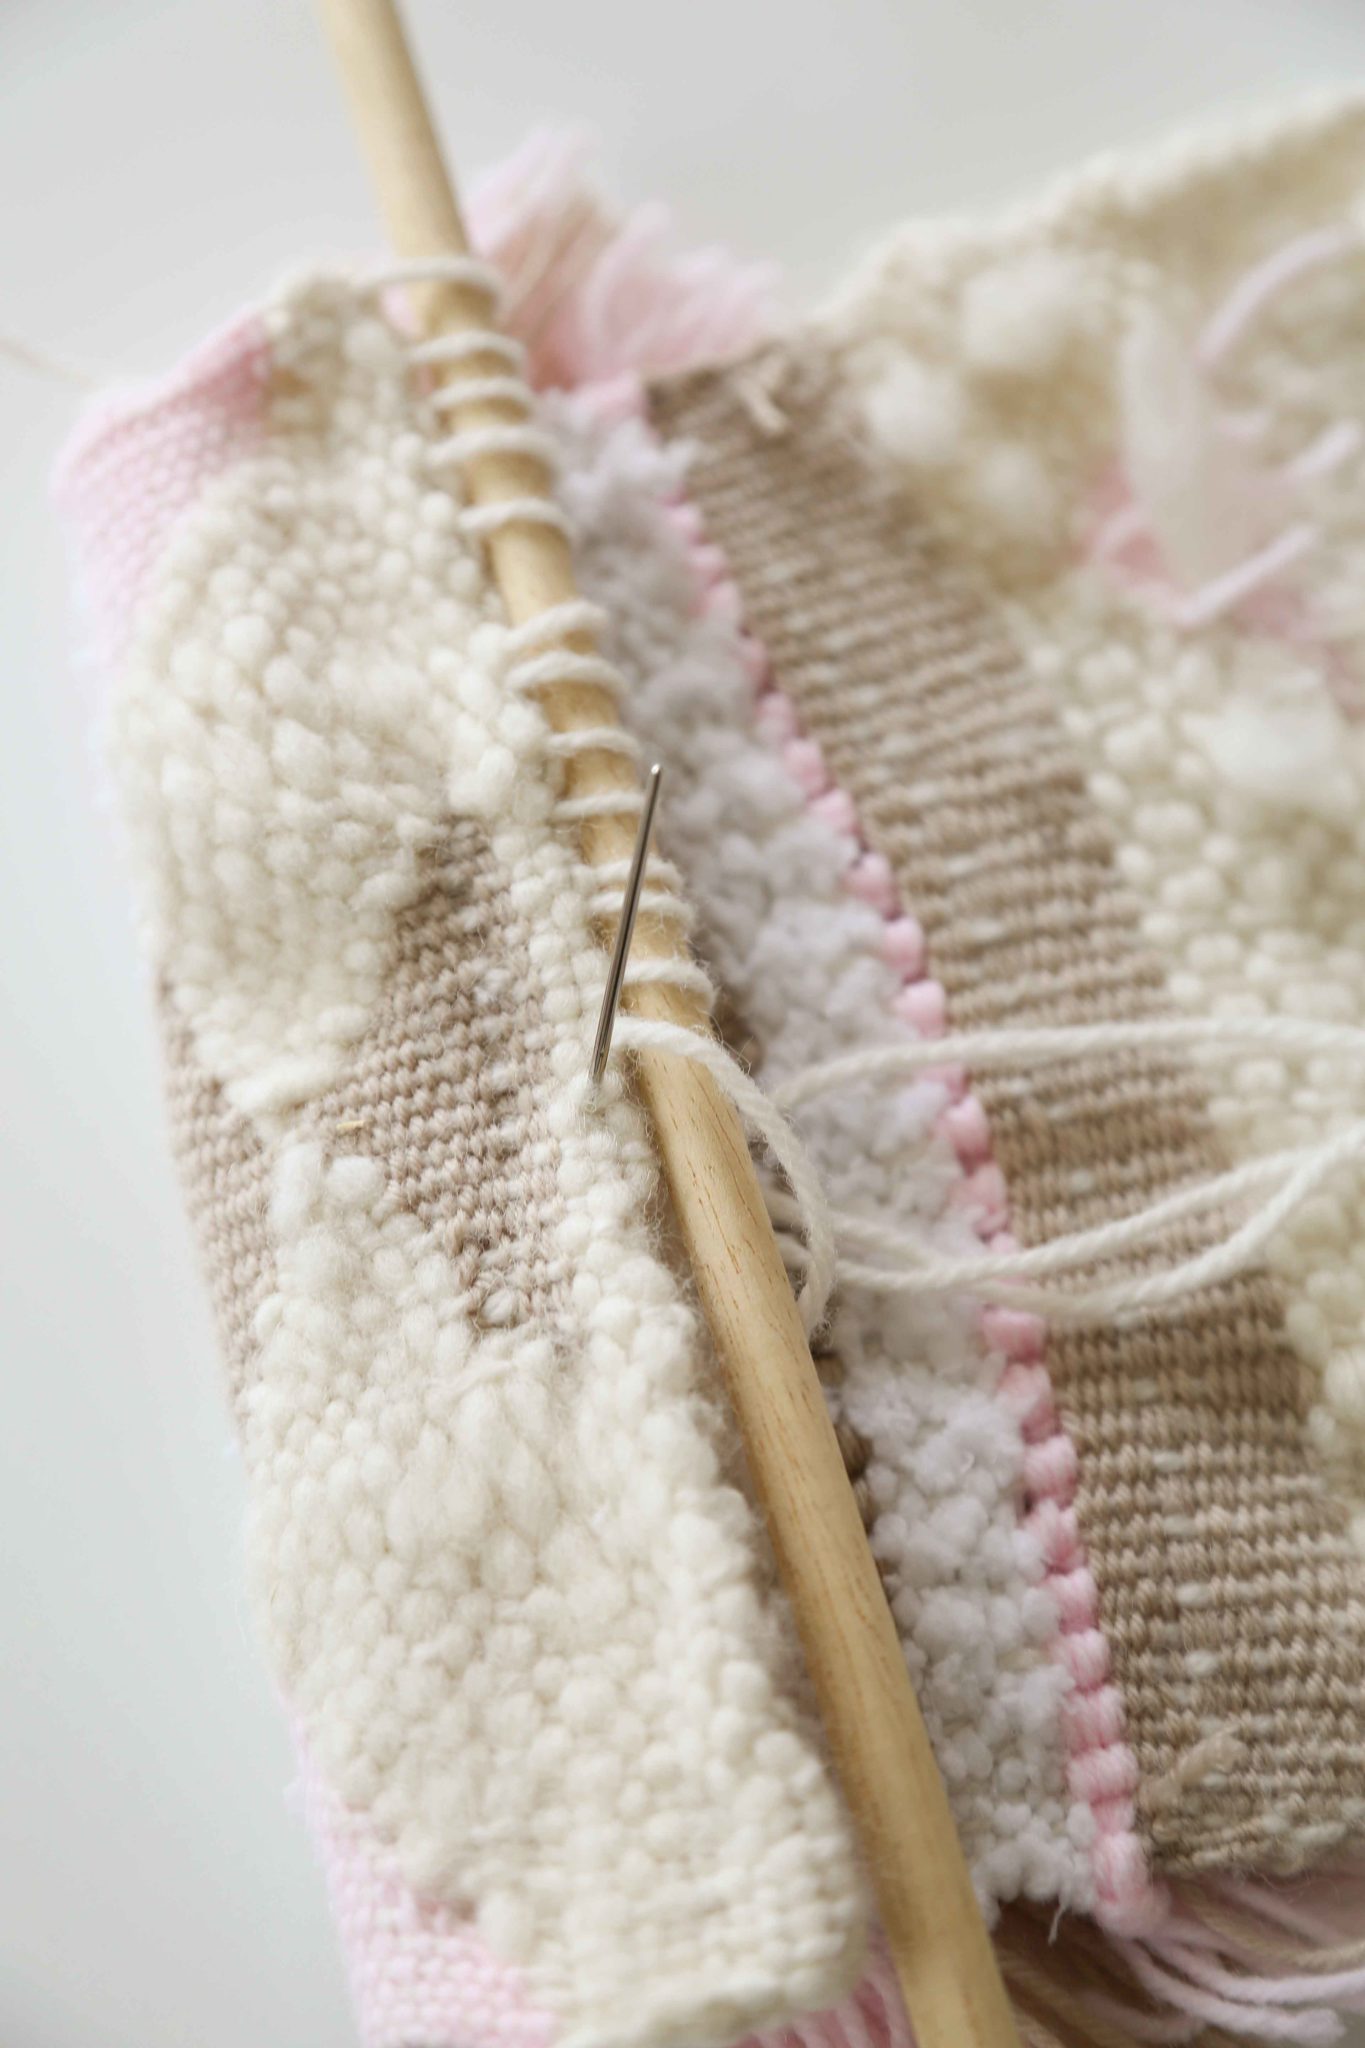
- Turn it over and then sort out all the messy strands. I threaded all of the strands individually on a needle and then carefully thread the yarn into the back of the weave and then cut of the extra once it was secure.
When the back is all nice and tidy, tuck the top knotted strands in the back of your weaving.

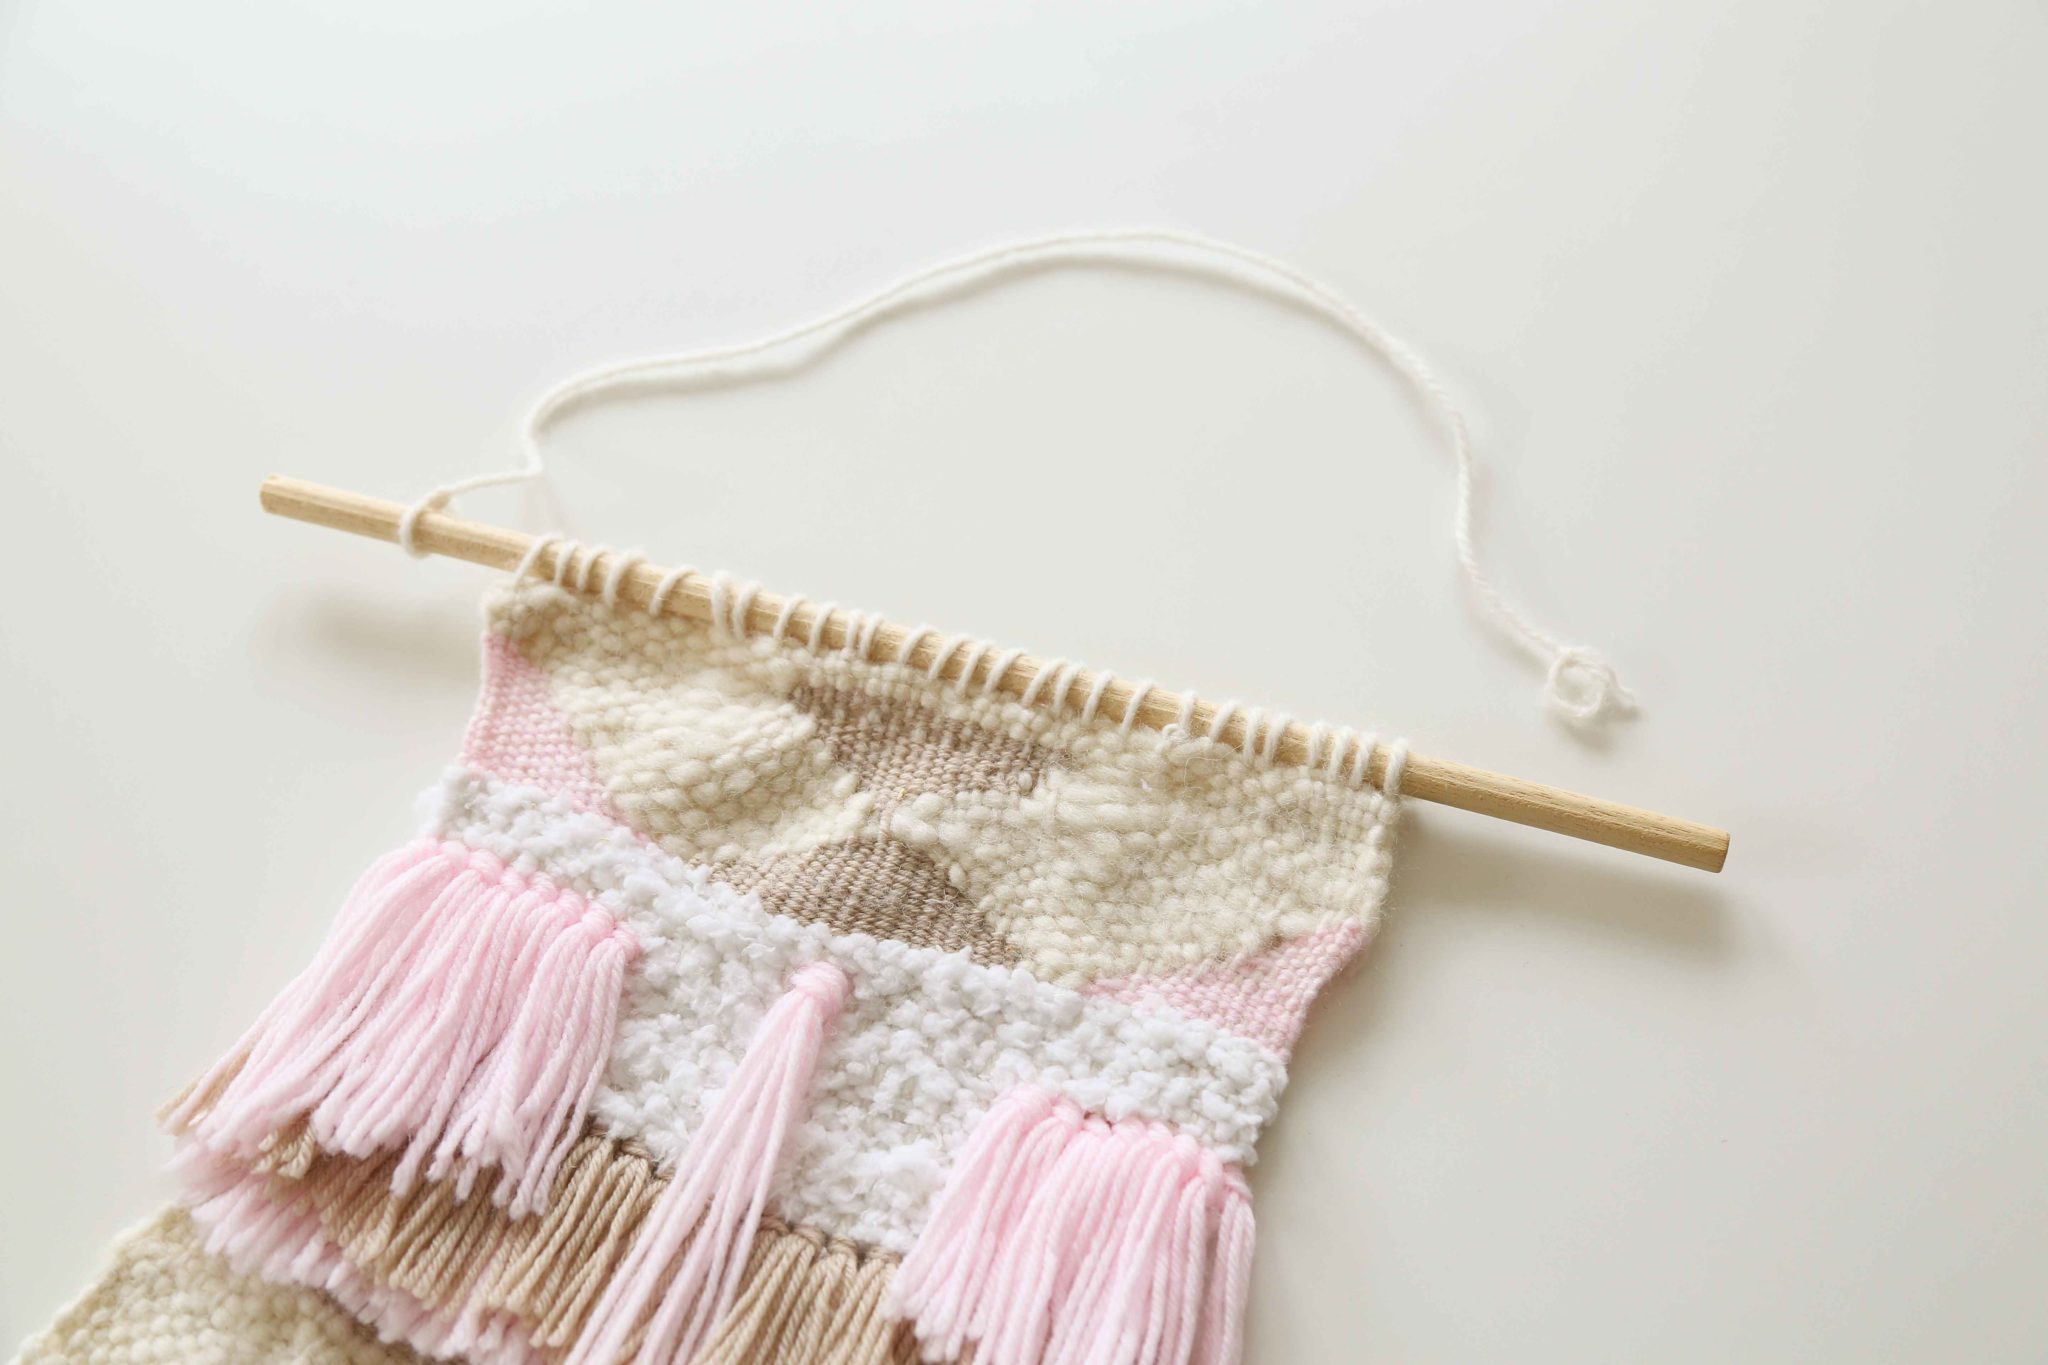
Hanging your weave
Cut a piece of dowel rod or prepare your driftwood. Cut more warp yarn and then thread through a needle.
To stitch your weave to the dowel rod stitch through each knotted strand at the top of your weave, up and over the dowel rod. This will secure it to the rod.

Hanging the dowel rod
Hanging the dowel rod (front)
Last but not least cut another piece of yarn and make a loop knot on each end to hang.
Voilà, you are all done!
I absolutely loved making this weave; it brought back great memories of being back in Art College weaving away.
It took a little time to create but very much worth it. I found it was really rewarding, and as an added bonus it actually made me sit still for a bit, rather therapeutic.
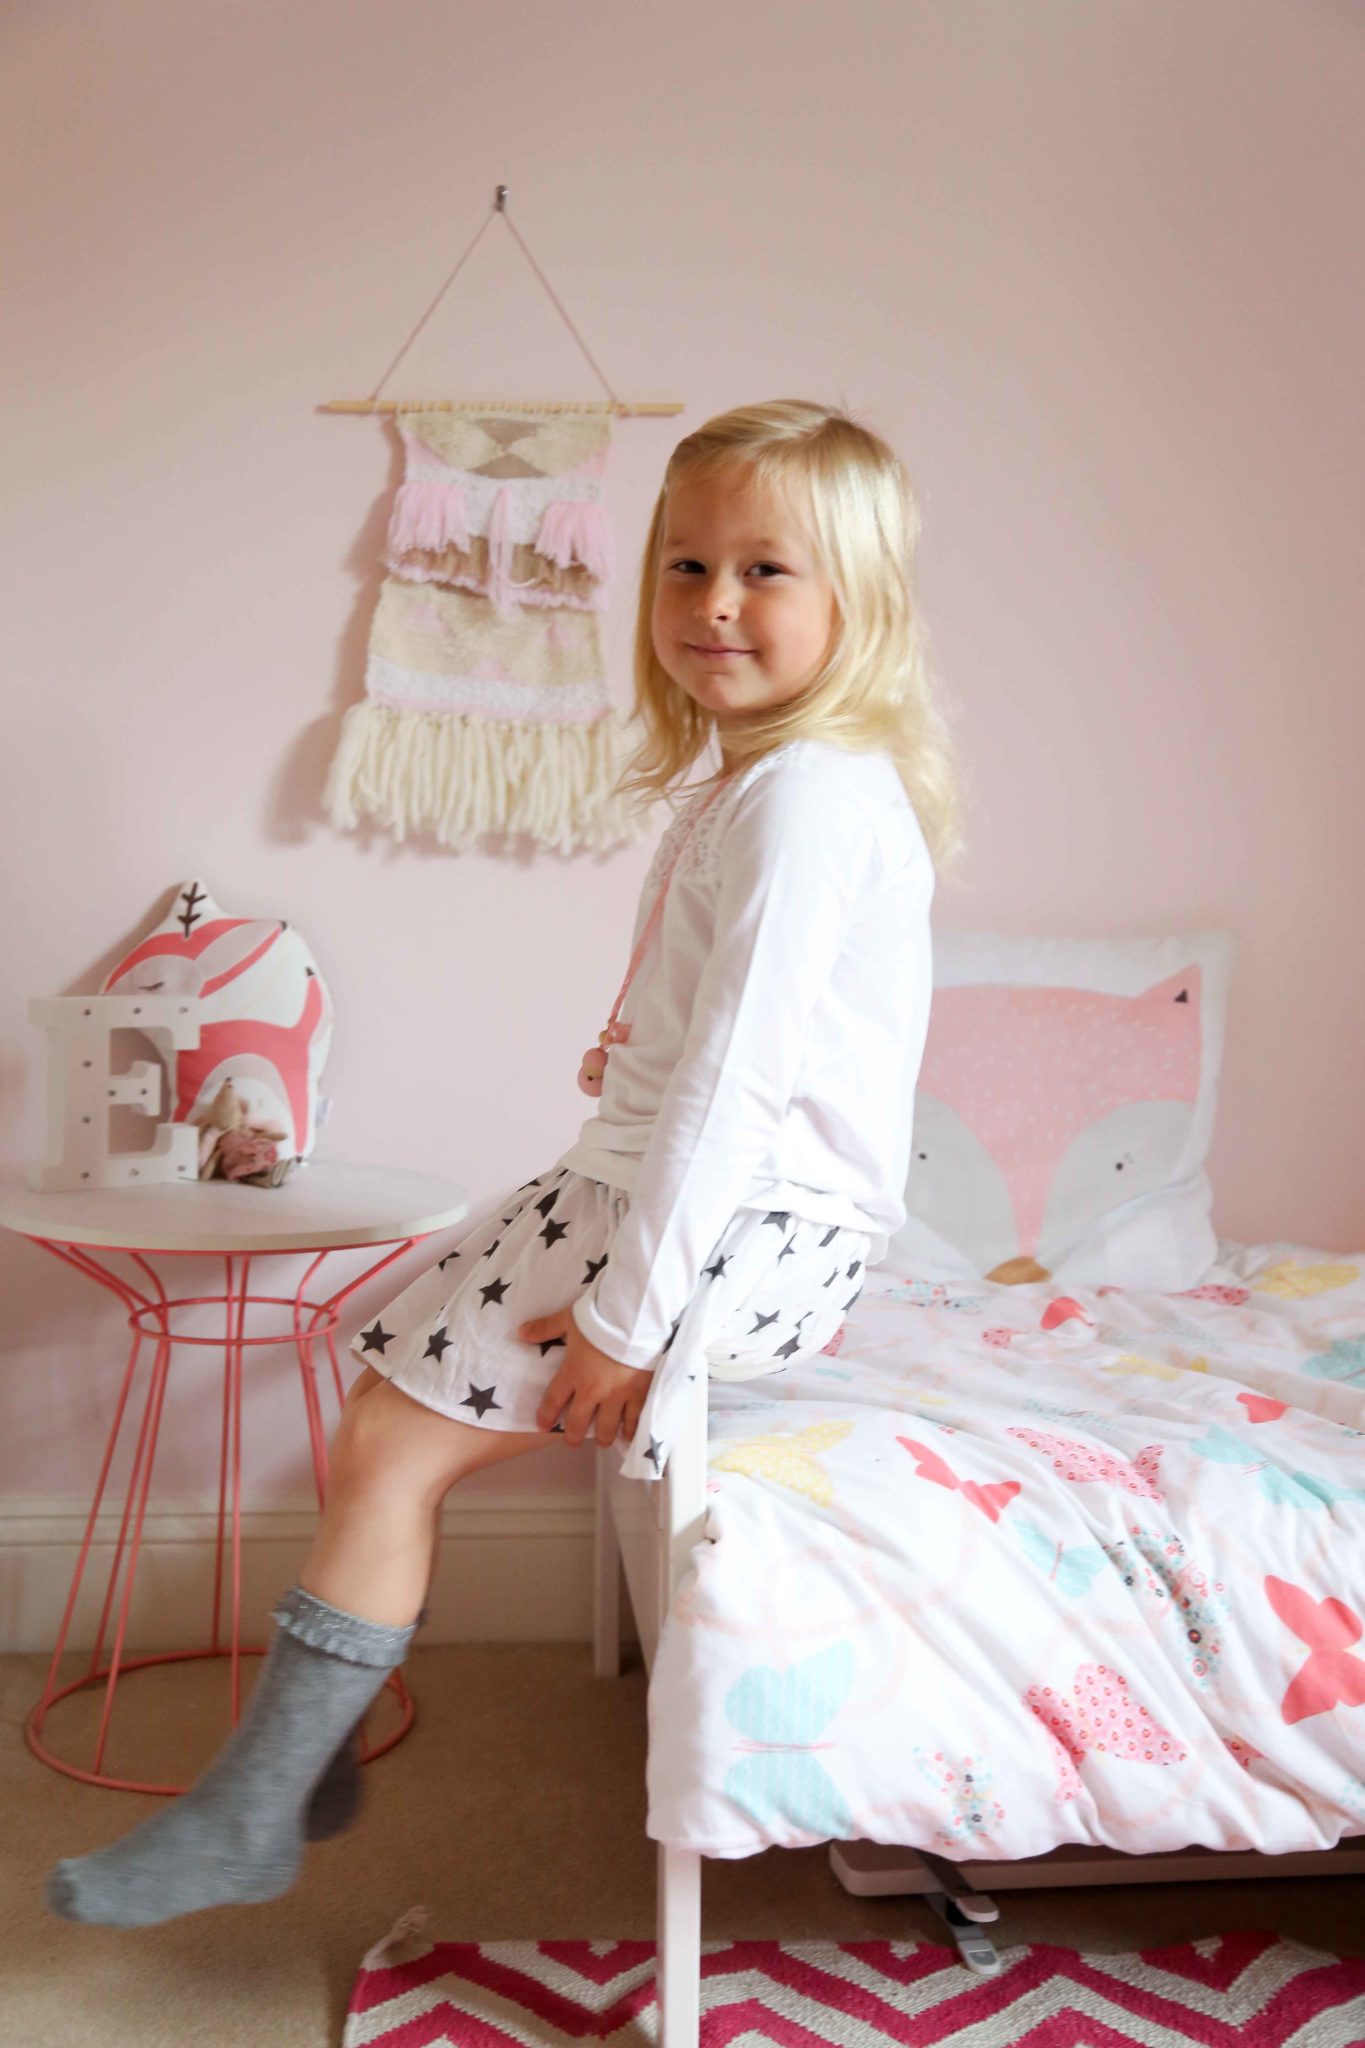
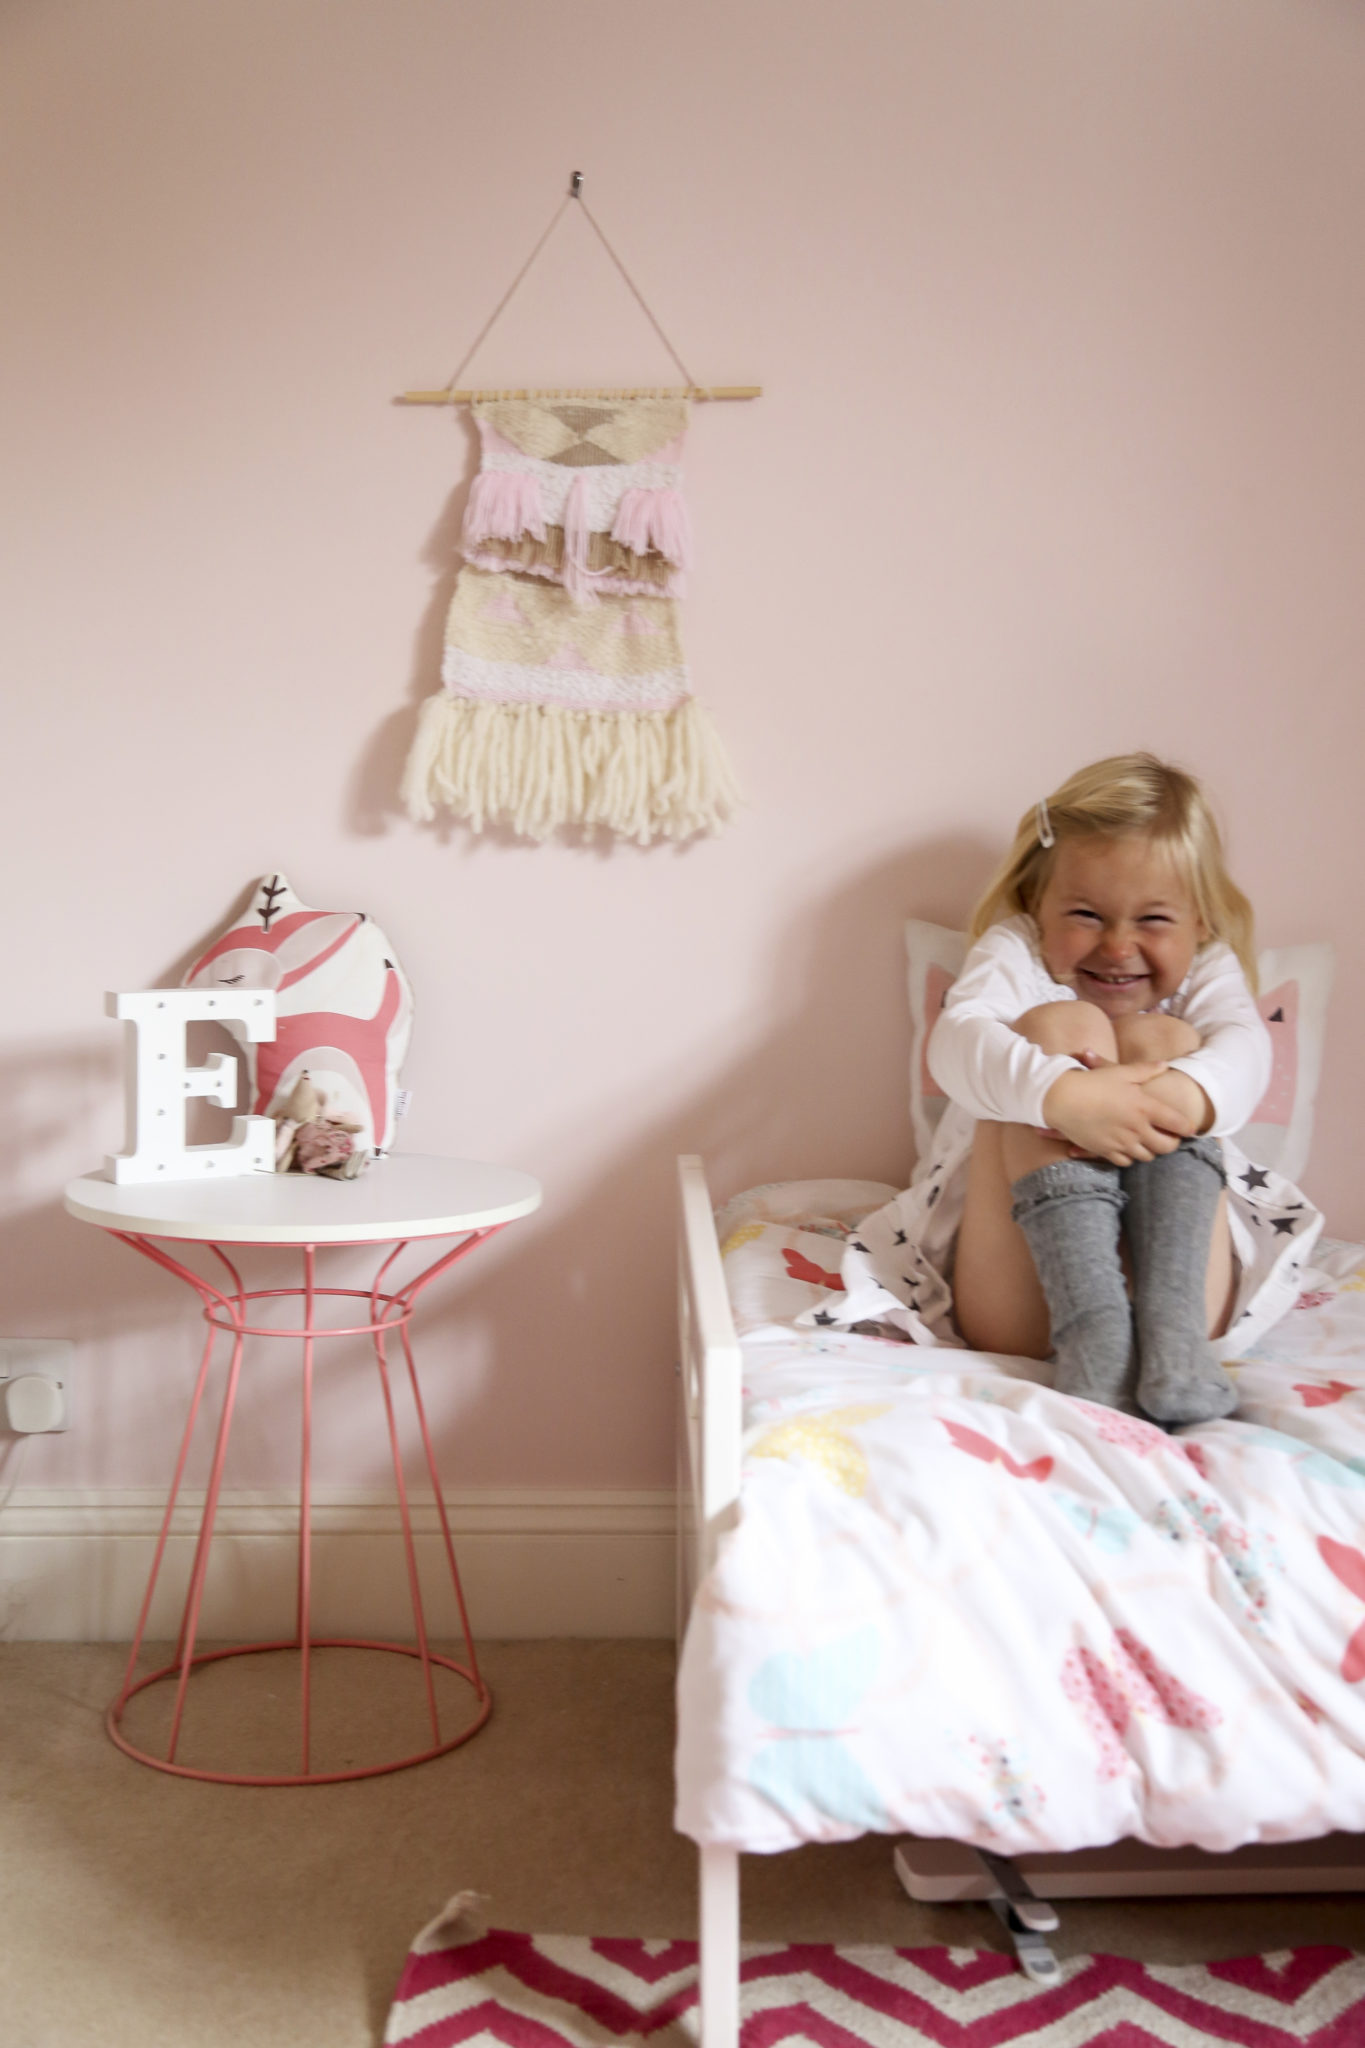
Evie is also pretty chuffed with it hanging on her wall, sweetie. I am looking forward to my next project, I think it might be time to invest in a mini loom!
Images and words by Clare Keylock, blogger and photographer – see more from Clare on Instagram
A note from TUBU Kids
An amazing and inspiring post from talented Clare! And a little footnote from me as I always like to provide two solutions – one for the creative crafty person, and another for those that love something but may not have time to make one.
So if you love weaves and want to buy one, check out one of our faves Zoe Loves Ava and a couple of her fabulous pieces below, available on Etsy.
Either way, we hope you enjoy some wonderful weaves in your home!
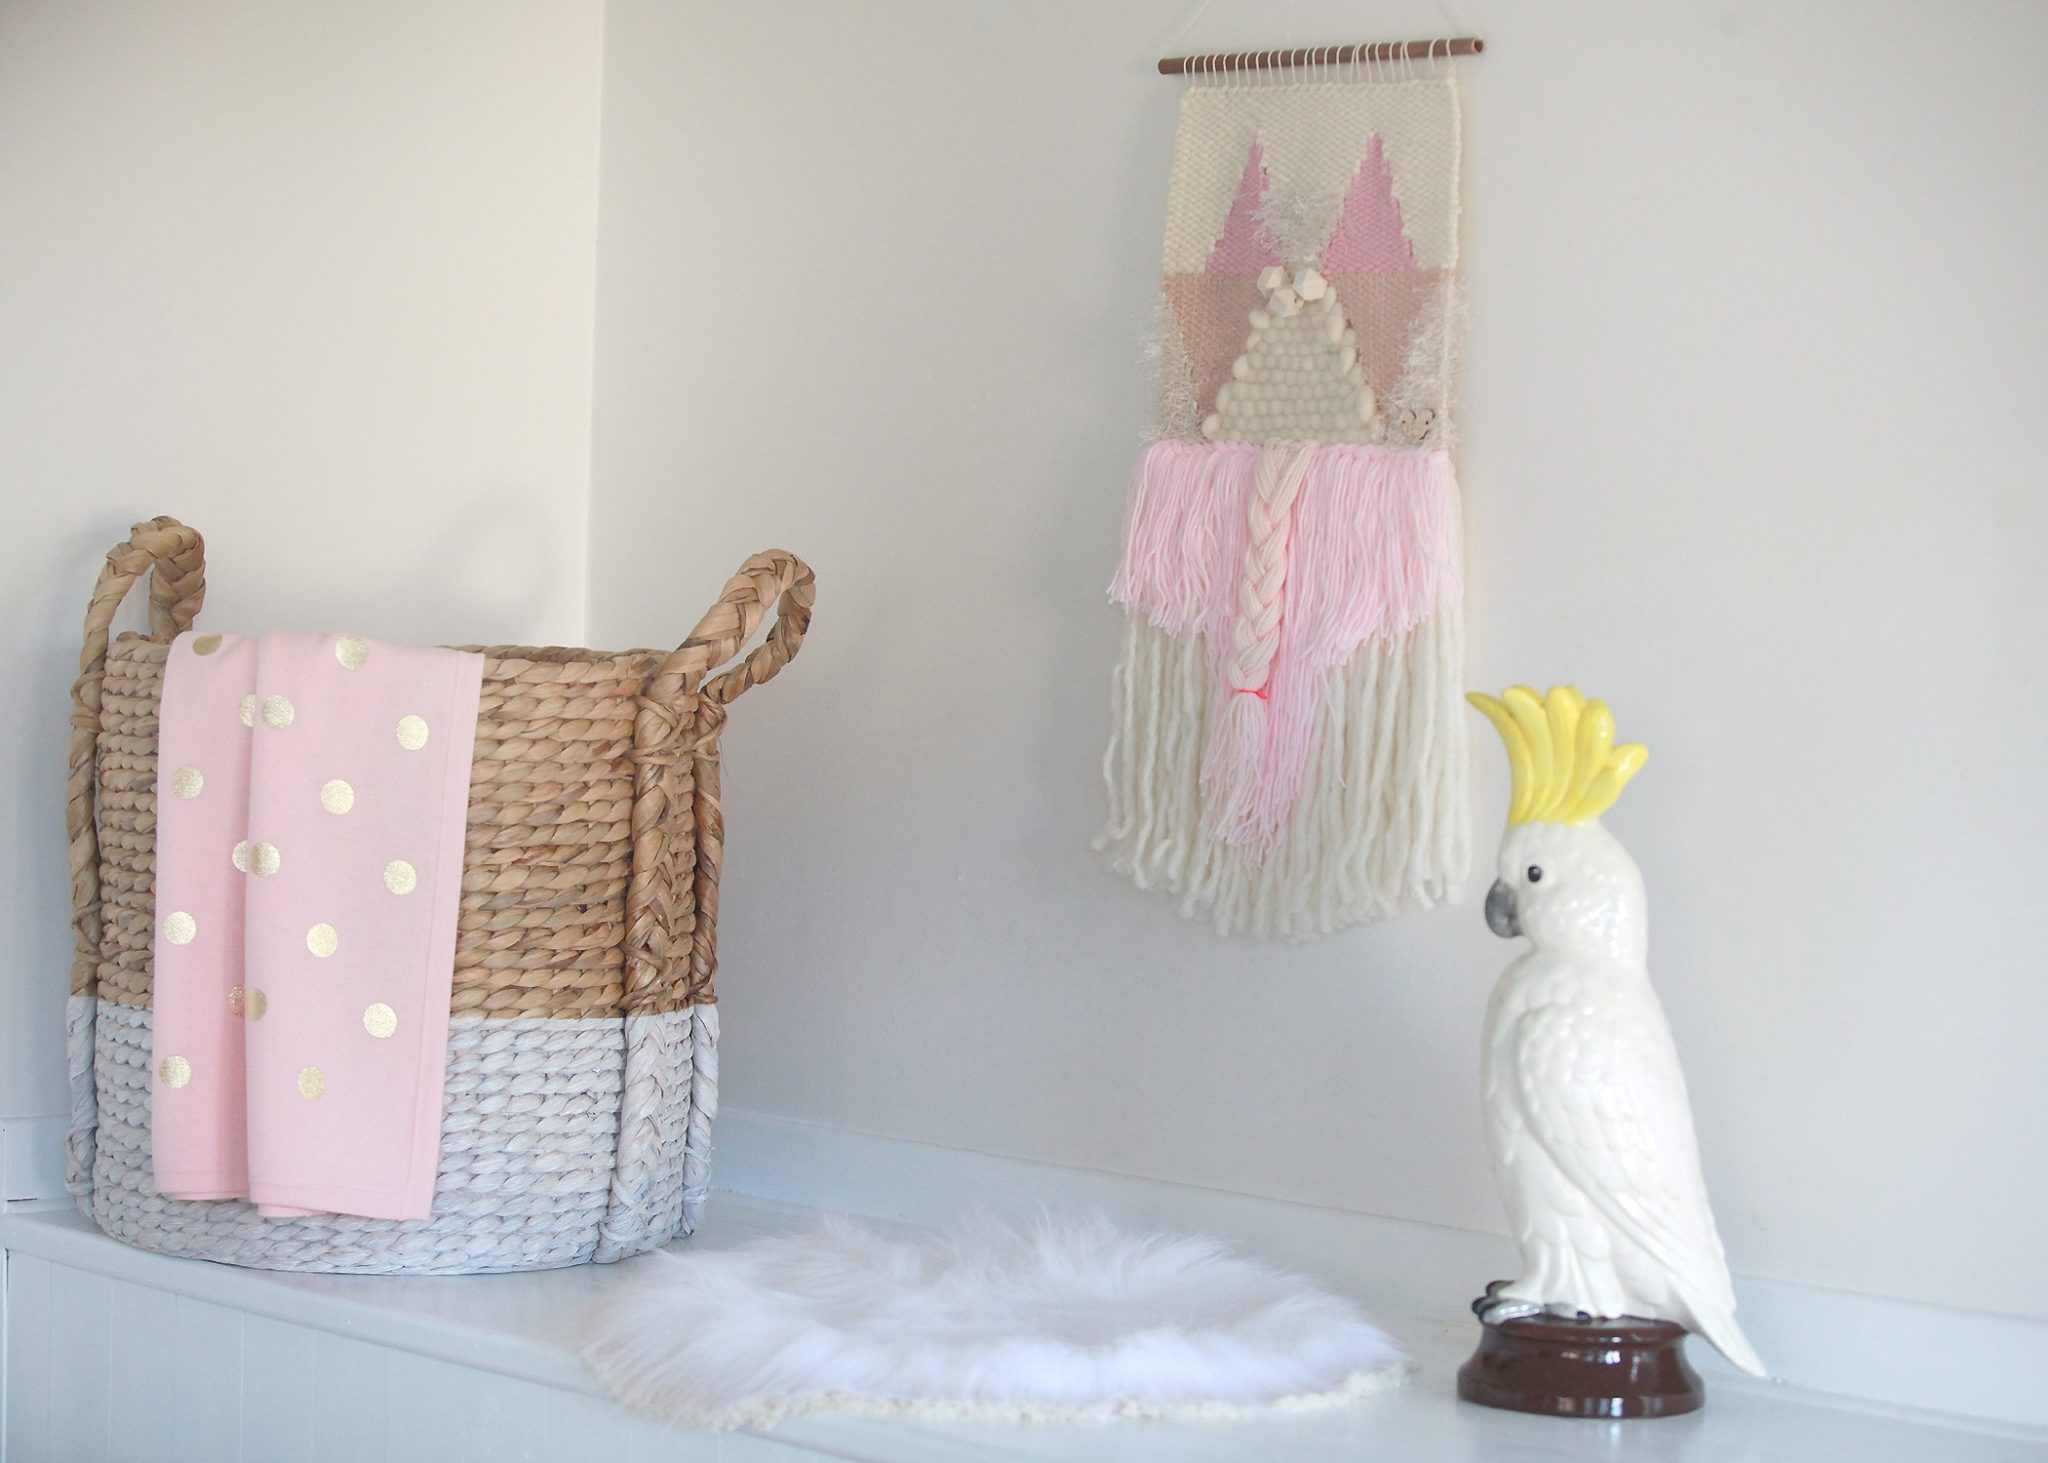
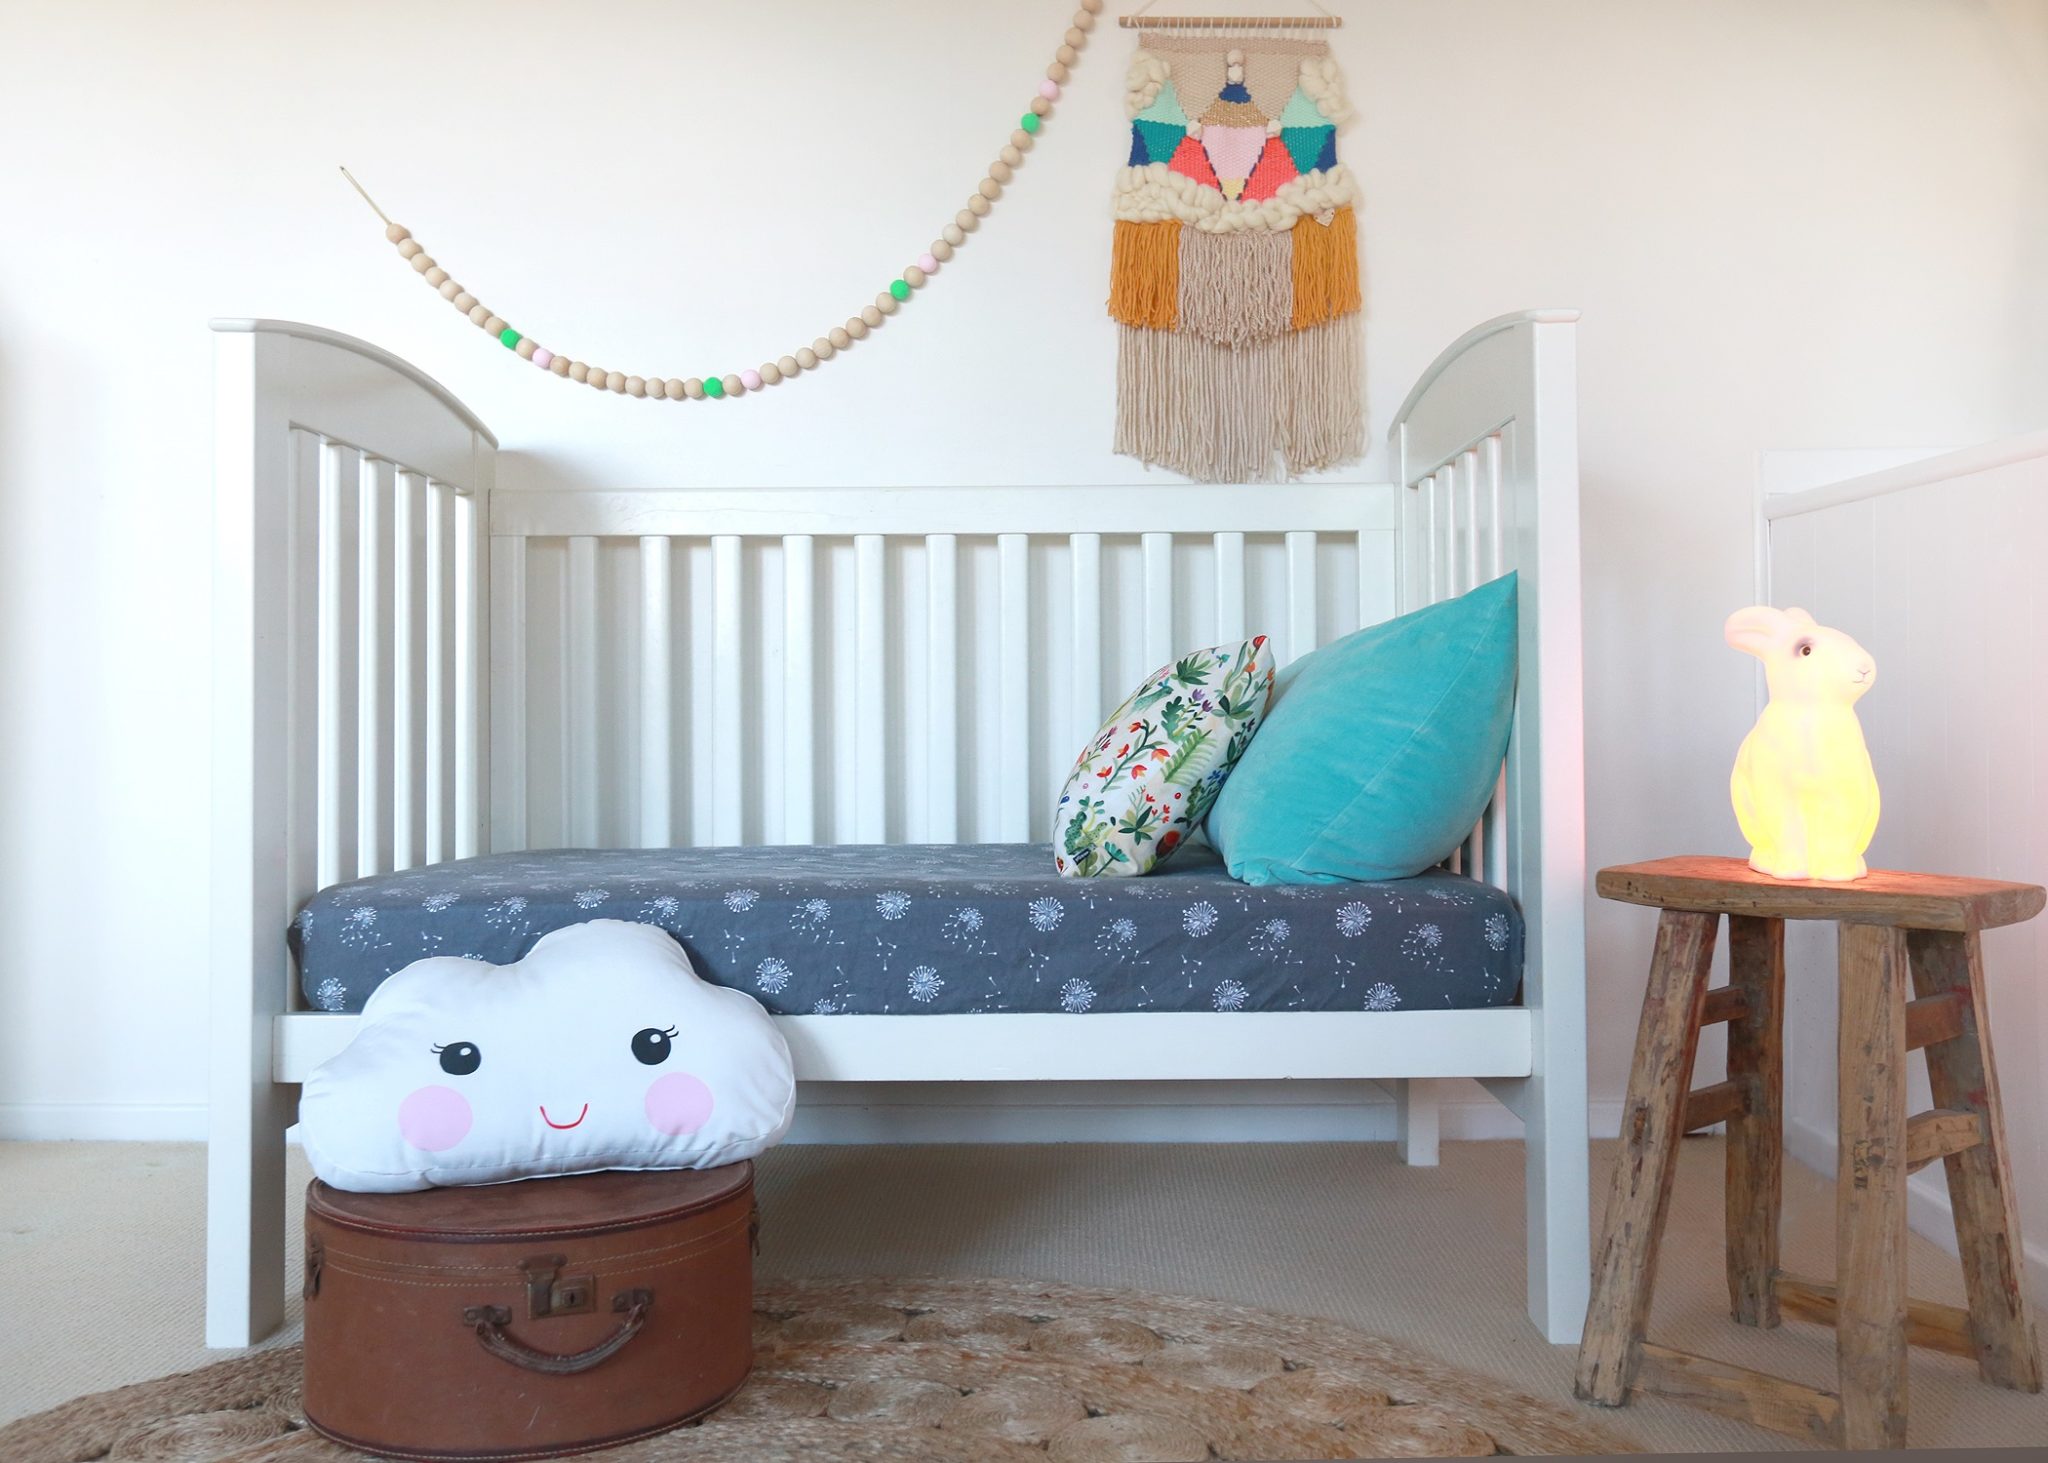
Zoe Loves Ava weave